


When I was diagnosed, I had yet to actually have a madeleine, although I’d seen them in pastry shops. It was a little bit intimidating trying to make a pastry that I’d never eaten before gluten free. It turns out, the flour isn’t the most important ingredient, it’s the butter. Now you know this is going to be a good recipe.
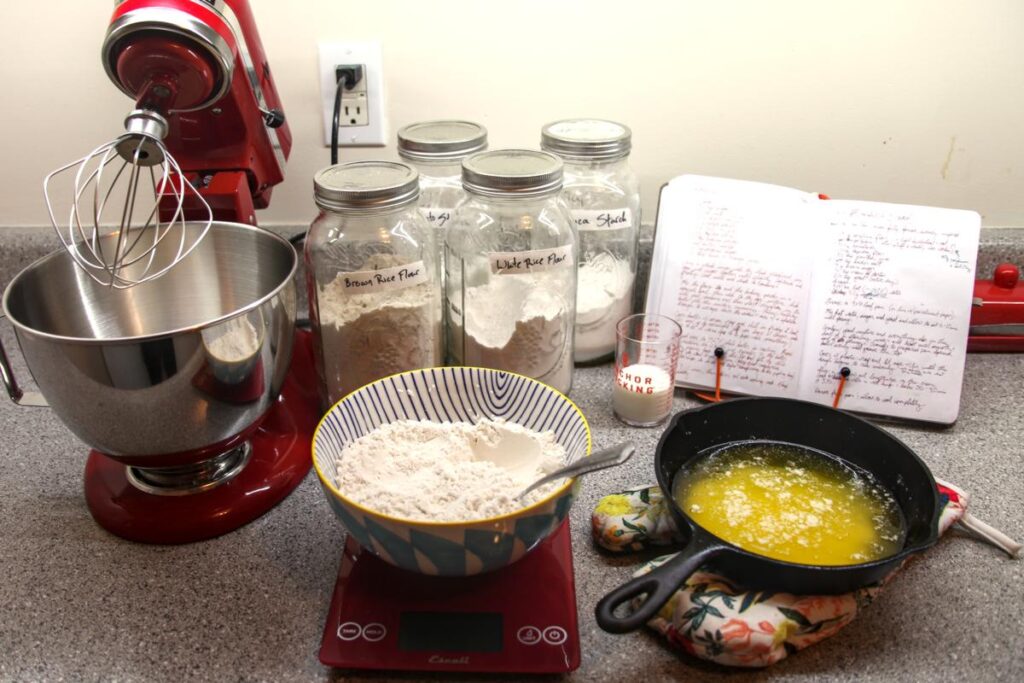
Required Equipment
- Madeleine tin
- Stand mixer or handheld mixer
- Piping bag (recommended)
You can’t make a madeleine without a madeleine tin, that’s just a fact. The shell shape is part of what makes them so special. I use this tin and have found it to work quite well.
Unless you have huge arm muscles, this recipe requires a mixer. It doesn’t matter if it’s a stand mixer or handheld, but the stand mixer will be more convenient for adding the butter to the recipe.
Finally, if you don’t want to specifically purchase piping bags (can be used for frosting, etc.), a sturdy gallon-size plastic bag will work fairly well. Simply fill the bag as if it were a pastry bag and then clip off the bottom corner. I have had particularly firm madeleine batter burst the seam of a plastic bag, so be warned that this solution isn’t always the best. I prefer a reusable piping bag like this one.
Detailed Instructions
Before you begin, make sure your milk and eggs are at room temperature. This is very important for making successful madeleines. If the eggs and milk are too cold, the butter will not create an emulsion with the egg and will instead congeal which ruins the texture of the madeleines. I take my eggs and milk out of the refrigerator at least a half hour before I start baking.
Once your eggs and milk have reached room temperature, melt the butter and set aside to cool. It should be warm but not hot by the time it is used in the recipe. Mix the dry ingredients together and set aside.
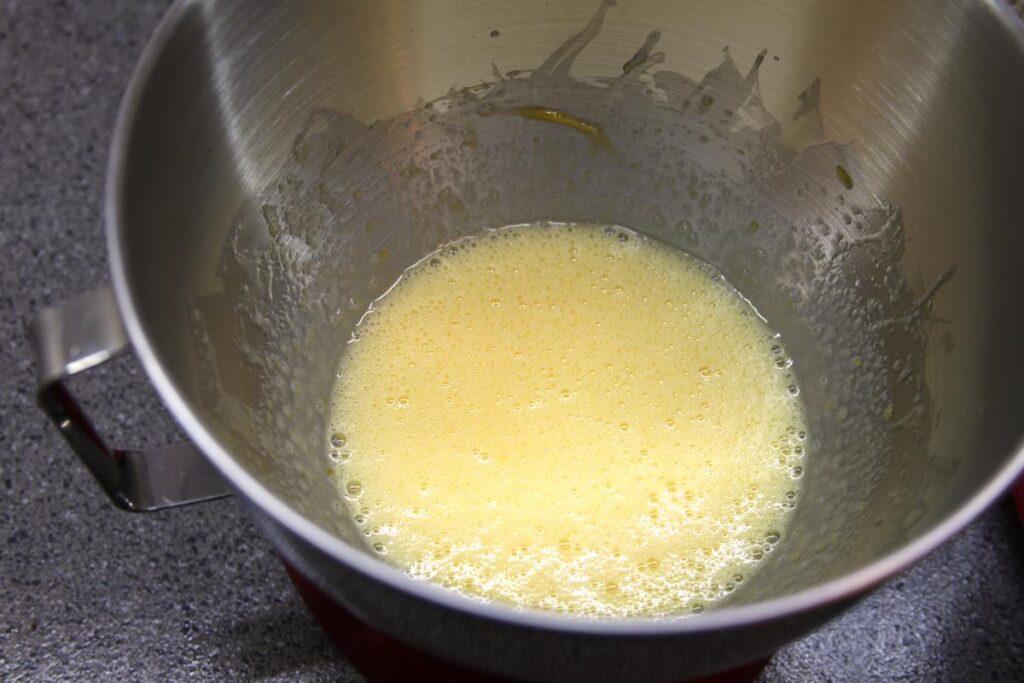
Add your eggs and sugar to the bowl of a stand mixer fitted with the whisk attachment and whisk on medium speed until the mixture lightens, as below. Make sure to scrape down the sides of the bowl in the middle of whisking.

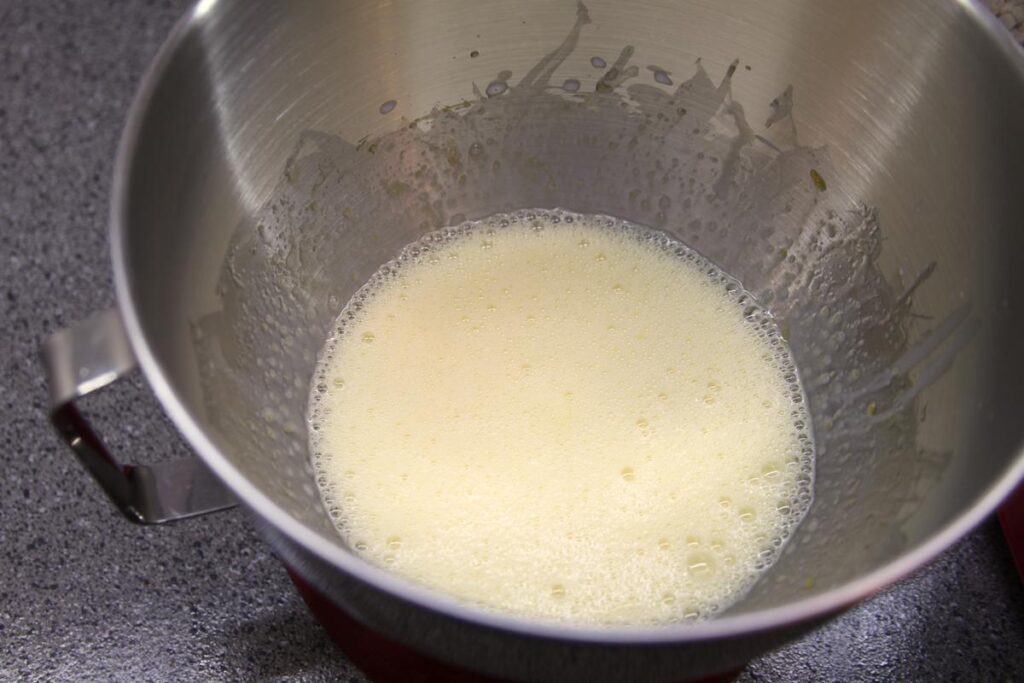
Add the milk and whisk briefly, then add the flour and whisk until just combined.
Transfer the melted butter to an easy-to-pour container, if necessary. With the mixer on medium, begin to add the butter to the batter in a thin stream. It will take several minutes to finish adding the butter, but be patient! Adding the butter slowly allows the egg and butter to form an emulsion.
Stop halfway through adding the butter to scrape the sides down and make sure the bottom of the batter is being mixed adequately.
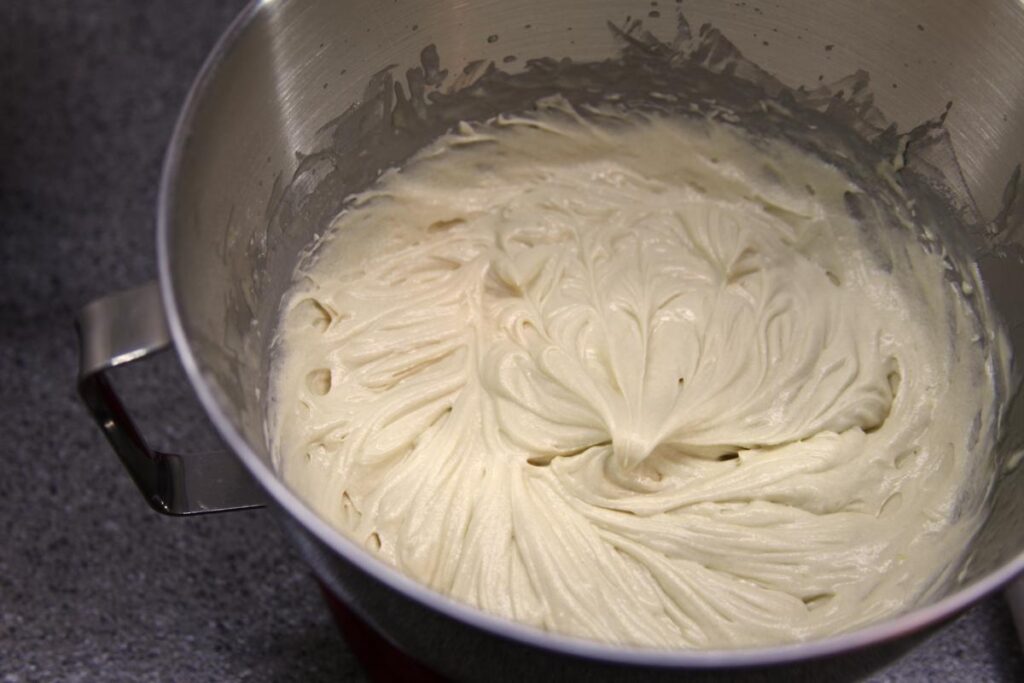
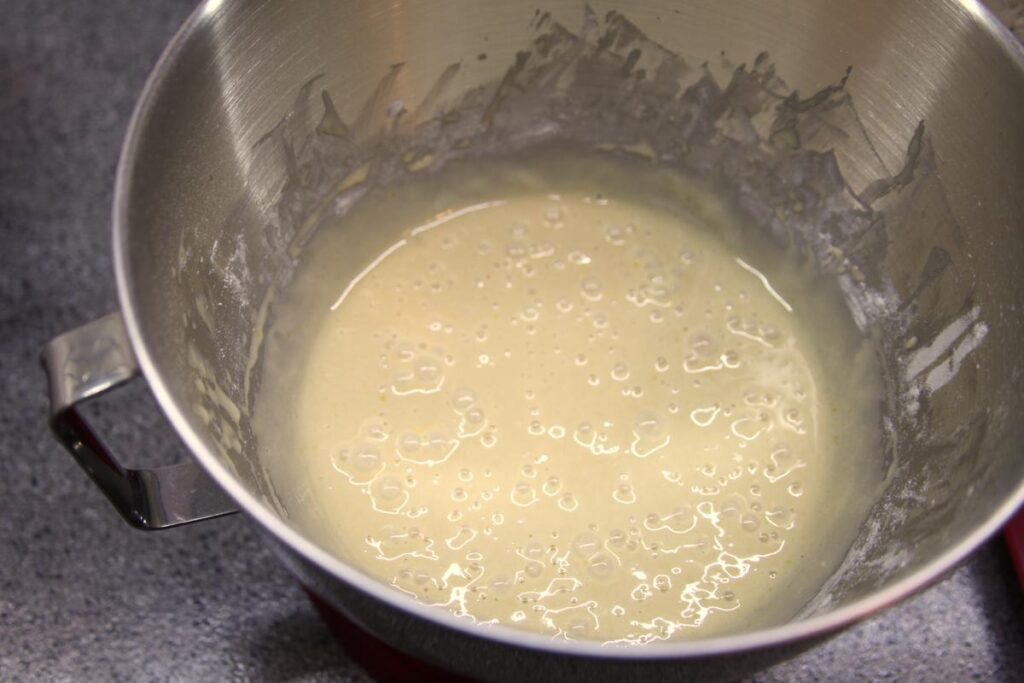
After the butter has been added the batter will be thick and glossy. Depending on the temperature of your kitchen, it might look a little grainy. This is normal! Don’t worry, the emulsion isn’t broken. Refrigerate your batter at least an hour and up to overnight.
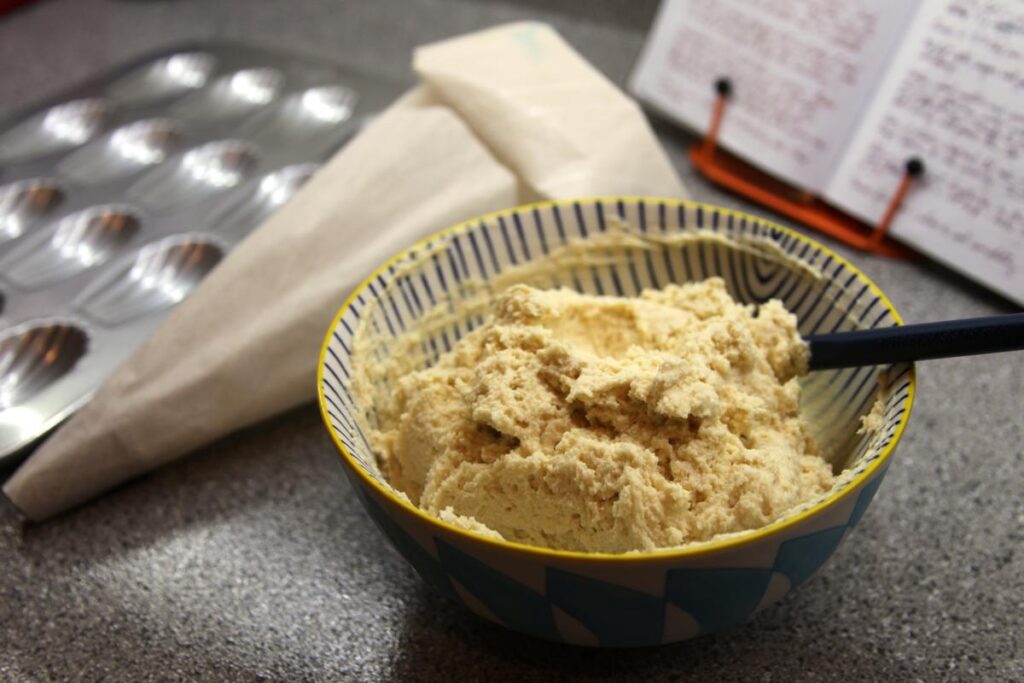
NOTE: If you refrigerate overnight (or have a very cold fridge) you may have to allow the batter to warm up for ~15 minutes before piping. Give it a stir and then allow it to rest on the countertop.
To pipe and bake the madeleines, preheat your oven to 450F. Give your batter a stir, then fit your piping bag with a large diameter tip and fill it with half the batter. Alternately, if you don’t have a piping bag, fill a heavy duty gallon plastic bag and, once full, cut off the tip of the bag.
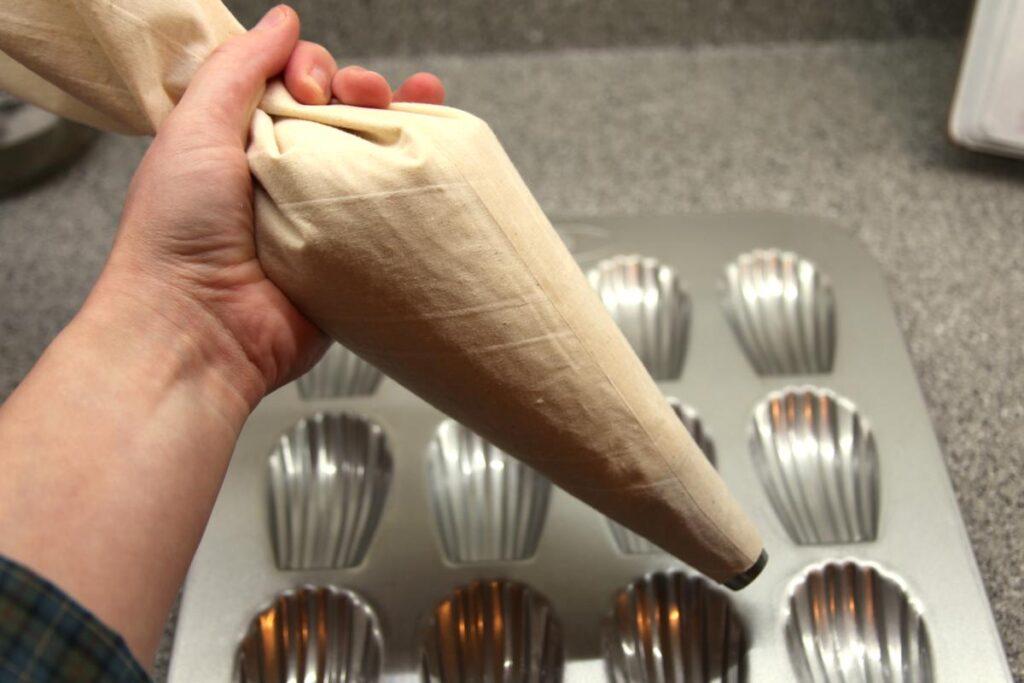
If your tin isn’t non-stick then grease the tins. A spray oil should be sufficient. Pipe roughly 1 1/2 to 2 tablespoons of batter into the molds.


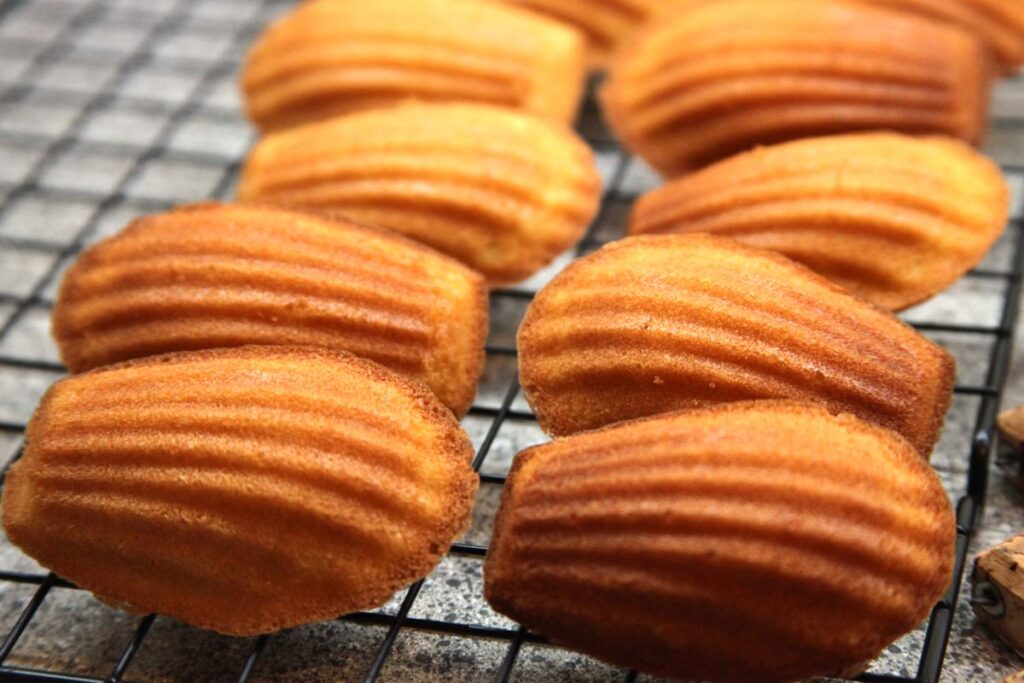
Bake for 9 to 12 minutes, or until the madeleines are puffed and the edges are browned.
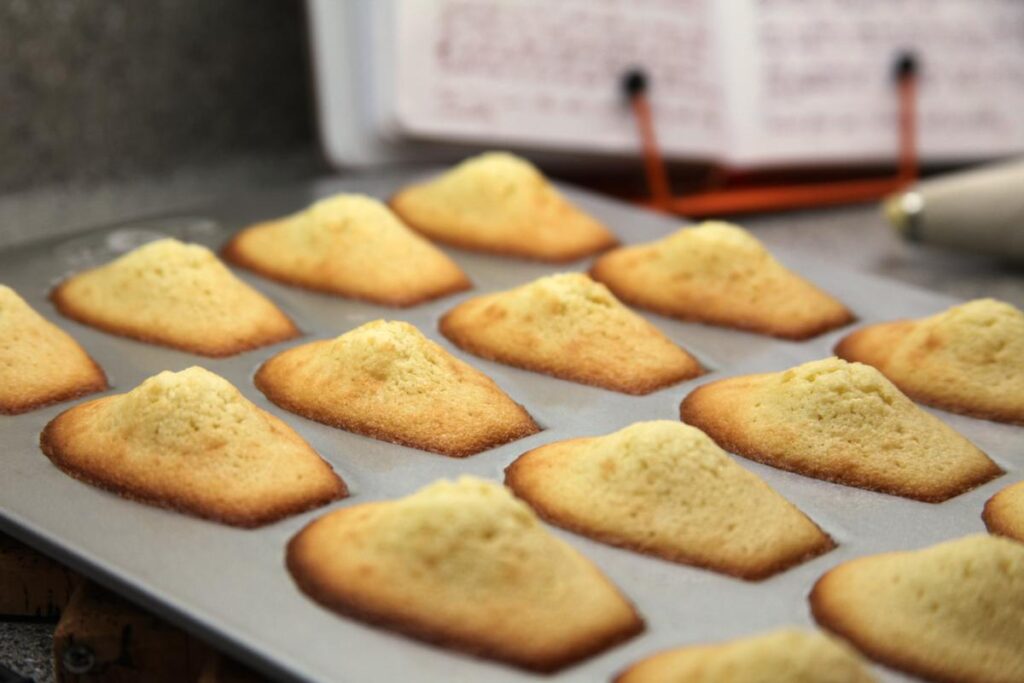
Remove from the oven and immediately remove the madeleines from the mold and onto a rack to cool. If they aren’t removed promptly they can become soggy in the mold. Repeat the process with the remaining batter.
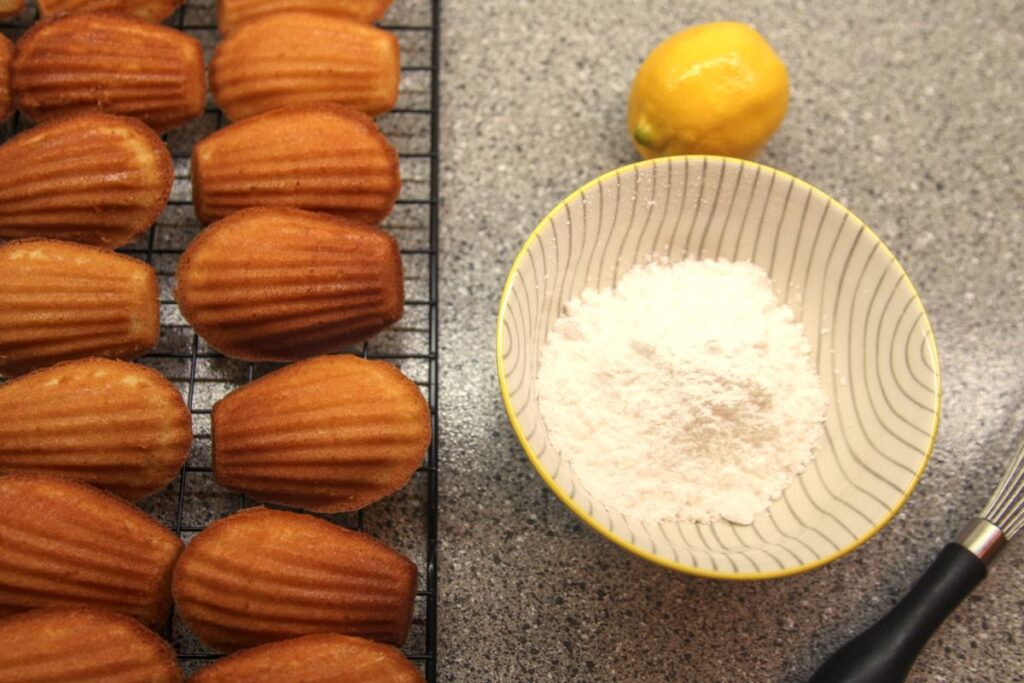
Make the icing while the madeleines are cooling. Place the powdered sugar in a small bowl and add enough lemon juice to make a thick paste. Whisk until all the lumps are gone, then thin the icing to the desired consistency.
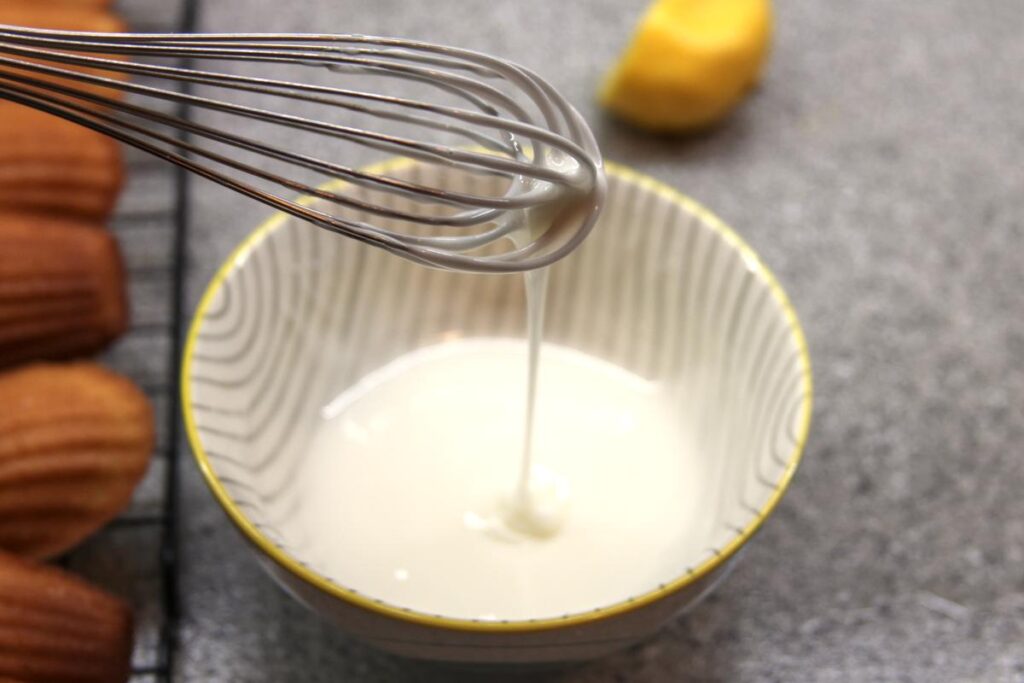
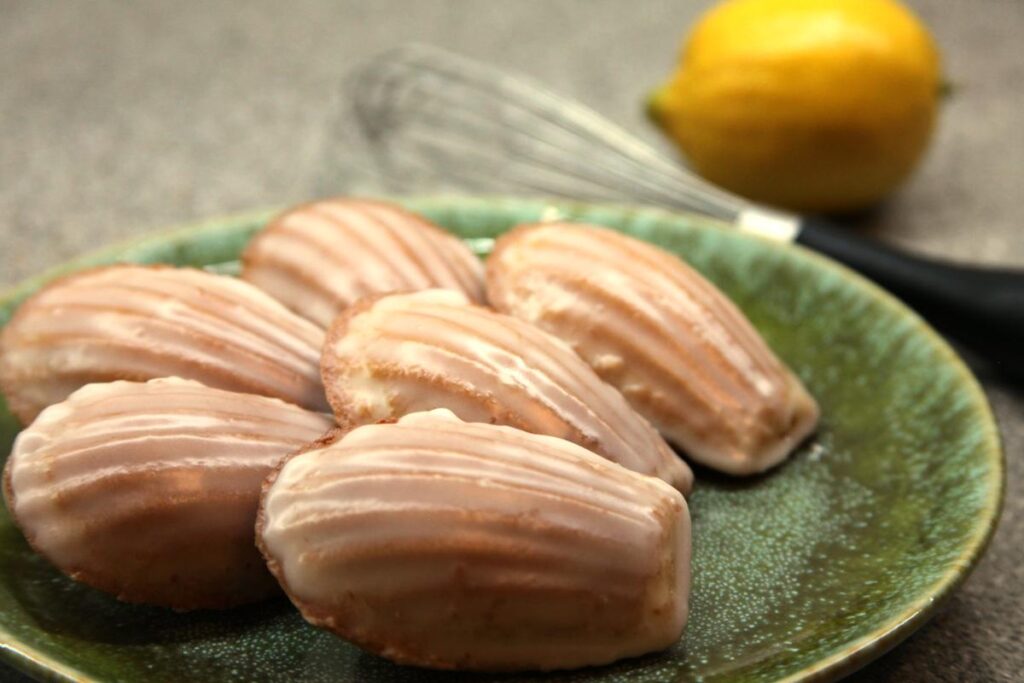
The icing should be thin enough to dip the madeleines into and have the extra icing run off. Making the icing on the thicker side will result in a more opaque coating (as in the pictures for this recipe) while a thinner icing will be more subtle and allow the natural color of the madeleines to come through. Icing consistency can always be adjusted by adding a little more powdered sugar or lemon juice.
Alternate Icing Ideas
Different types of citrus can be used in the icing instead of lemon.
If a colorful madeleine is desired, food dye can be added to the icing as could pigmented powders such as matcha powder or beet root powder.
Instead of a glaze, madeleines can be dipped in chocolate (similar to the cookies in my recipe for chocolate almond cutout cookies).
Finally, if you don’t desire to flavor them at all, they can be dusted lightly with powdered sugar.
Substitutions
The eggs and butter are absolutely essential to the success of this recipe. Do not substitute them. It is on my to-do list to make a recipe for madeleines that uses oil instead of butter, but until then, the butter is non-negotiable.
The milk can be substituted for a dairy-free alternative, although you should expect the madeleines to have a smaller rise.
Gluten Free Madeleines

Ingredients
Instructions
-
In a medium bowl, measure out the dry ingredients. Whisk to combine and set aside.
-
In the bowl of a stand mixer fitted with the whisk attachment, whisk eggs and sugar together until slightly lightened and frothy. Scrape down the sides, then add milk and whisk briefly to combine.
-
Add the flours to the egg mixture and whisk until just combined.
-
With the mixer running on med-low speed, slowly drizzle in the butter. Stop halfway through and scrape down the sides of the bowl with a spatula. Once all butter is added, whisk for 30sec - 1 min at medium speed. The mixture may look somewhat grainy.
-
Cover bowl with plastic wrap and chill in the fridge for at least 1 hour and up to overnight.
-
When ready to bake the madeleines, preheat the oven to 450oF. Remove the batter from the fridge and stir. If it is too thick to pipe, allow to warm up on the counter for 15 to 20 minutes.
-
Using a piping bag fitted with a large diameter tip, pipe the madeleine batter into the mold.
-
Bake 9-12 minutes, or until puffed in the middle and browned around the edges. Immediately transfer to a wire rack and allow to cool.
-
To make the icing: whisk together powdered sugar and juice from the lemon in a small bowl. Start by juicing half the lemon and then add more to reach the desired consistency.