

Okay, I'll admit I sound pretty full of myself with the "perfect" in front of the "apple pie" in the title. I'd settle for just really darn good, but that doesn't read quite as well. I watched my friend eat almost an entire quarter of this pie yesterday, so I feel somewhat justified in my claims about this pie, whichever way I phrase it. There are many ways to make a delicious apple pie and this is mine.
What makes this pie special? The apples are sliced thin, the filling is flavored with cinnamon and brown sugar and has a perfect balance of sweet and tart. When cool, the filling sets beautifully, preserving all of the gooey, apple-y, cinnamon-y goodness so the flavors come through in each bite. It gets an extra boost from a secret ingredient; a touch of sour cream adds richness and contributes to the tanginess of the apples and lemon juice. Truly a perfect bite!
Oh, and it's entirely gluten free.
This recipe contains affiliate links. When you purchase the products from these links I receive a small commission at no extra cost to you which helps to support this blog.
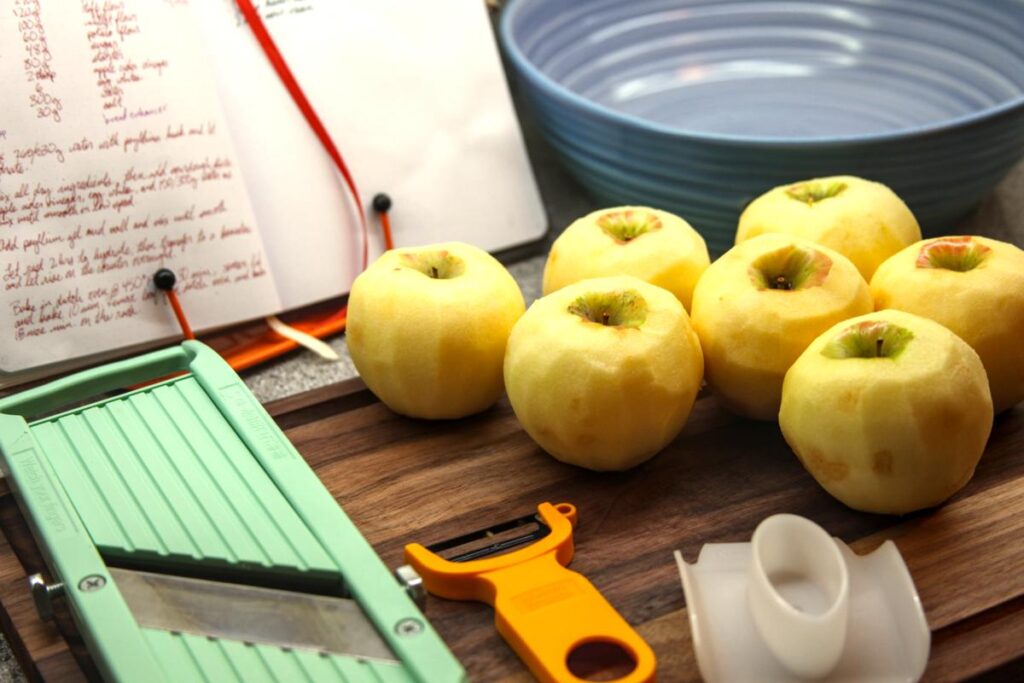
I have a confession. For years, I didn't own a vegetable peeler or a mandolin. My mom peeled and chopped all the apples for apple pie with a knife and I never thought of doing anything different. After a bit of heckling from my friends, I bought both and what a quality of life change they make! I'm now a huge fan of my peelers and my mandolin and if you're still peeling and chopping your apples with a knife, I cannot recommend either of these products enough.
Just watch out! When they say that the mandolin is sharp and to use the guide, they're not kidding. Apple pie was the first thing I made after I purchased it and it was less than five minutes before I had a little accident. You think you know better and it won't happen to you and then guess what? It turns out you aren't immune to knives. Use the finger guard, they're really not messing around.
While this may be a controversial choice, I strongly prefer honeycrisp apples for making my apple pie. Other classic apples for pie are McIntosh or Gala, and they'll work just as well here.
Keep an eye on how big your apples are, you may need more or less apples depending on how large they are and how big your pie plate is.
You can use any pie crust you like for this recipe. I've posted my favorite gluten free pie crust recipe on my blog here and I recommend it for this recipe.
You will need both a bottom and a top pie crust.
The quality of gluten free flours is very important for the final product. The more finely ground the flour, the more successful your baked goods will be. If your baked goods aren't turning out quite how you'd like them to, your flour might be the culprit.
For information on where I source my gluten free flours, see my post on sourcing gluten free flours.
Start by preparing your pie crust (if making one from scratch) or thawing according to the package instructions (if using frozen pre-made). Check out my flaky gluten free pie crust recipe if you're looking to make your pie crust yourself.

Preheat the oven to 425oF.
Peel and quarter all of your apples, then remove the core from the quarters.
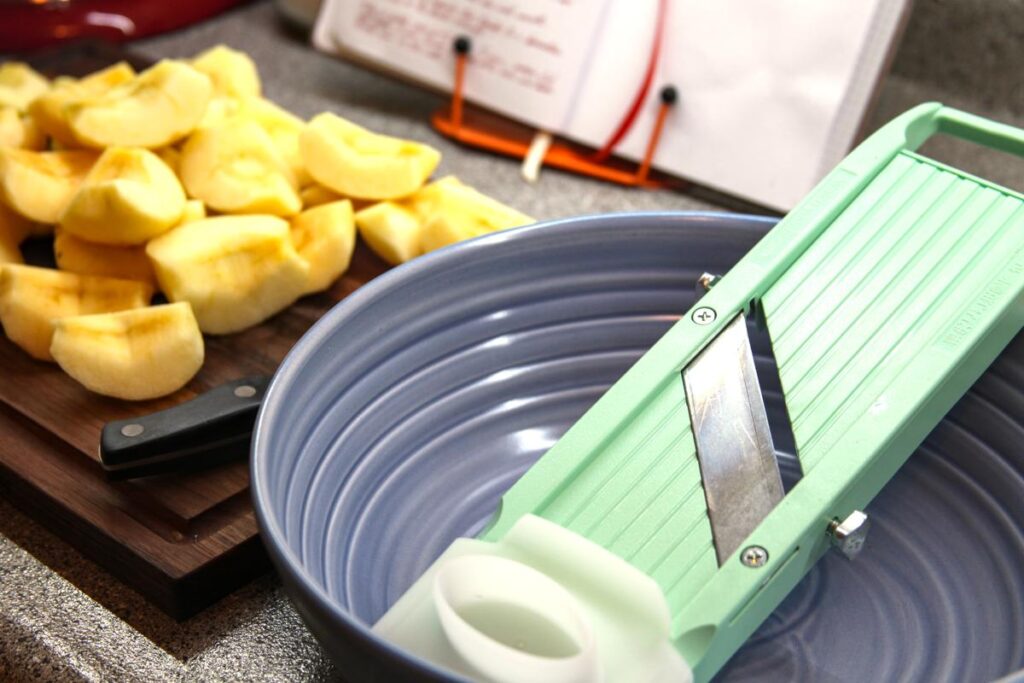
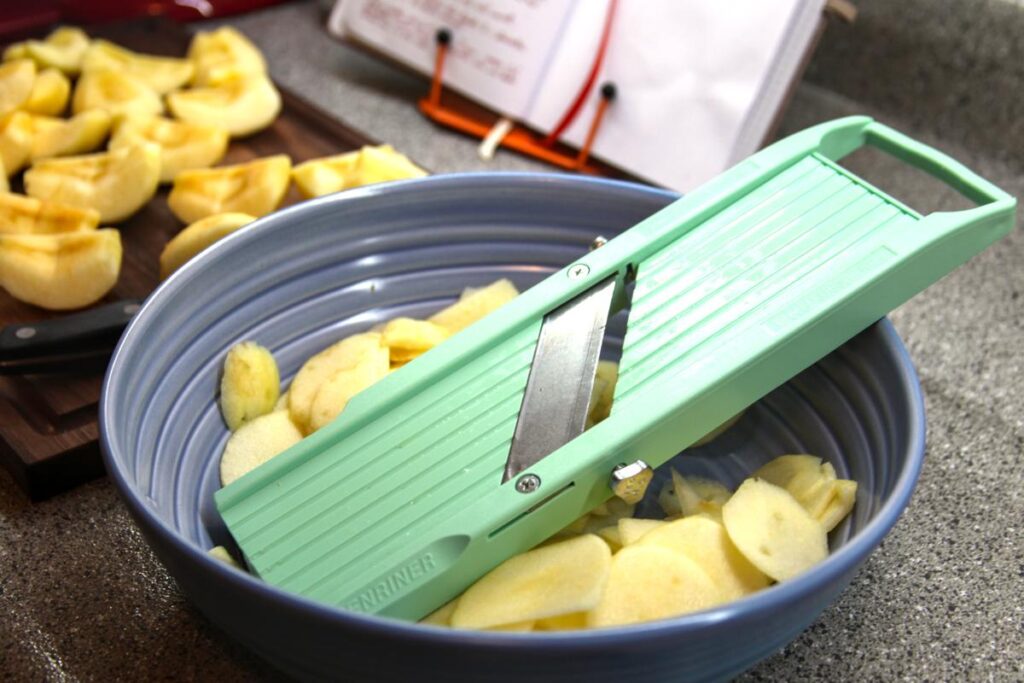
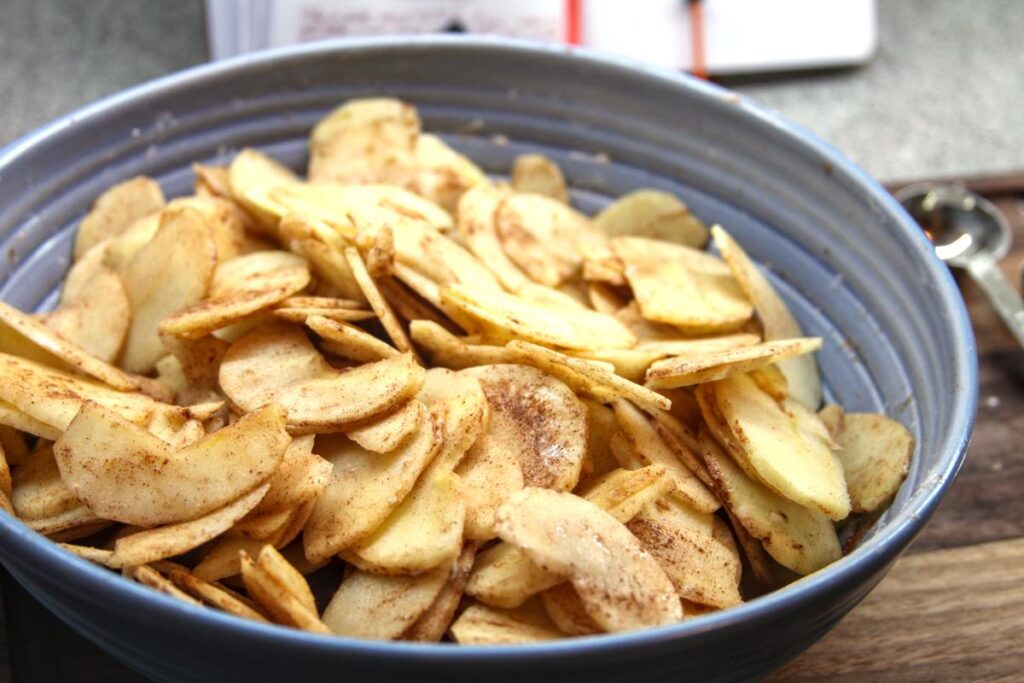
Thinly slice using a mandolin or knife.
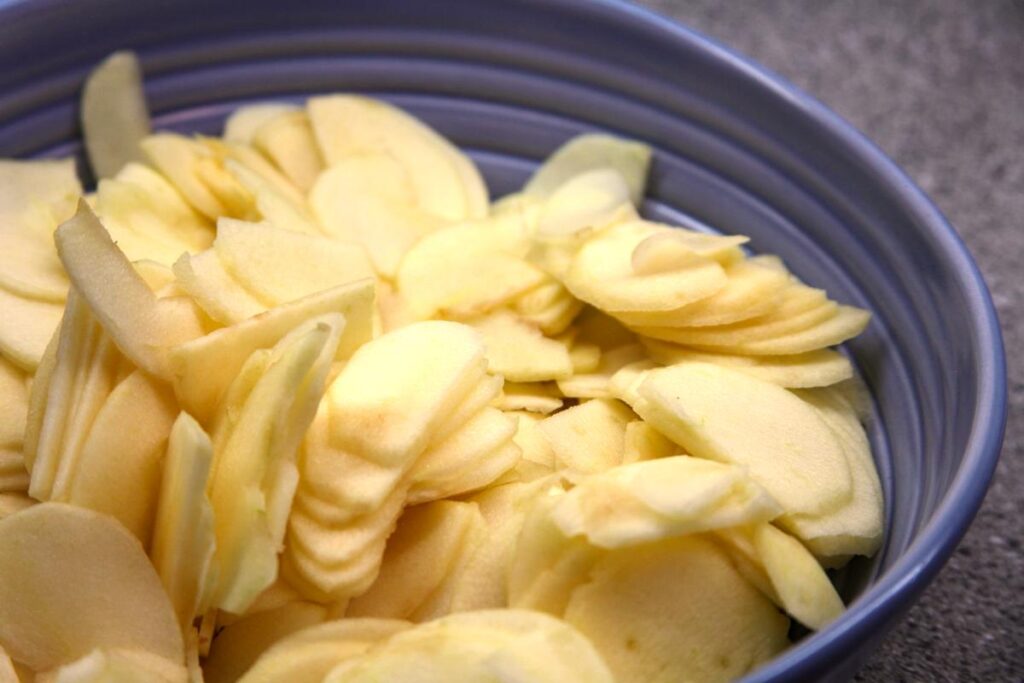
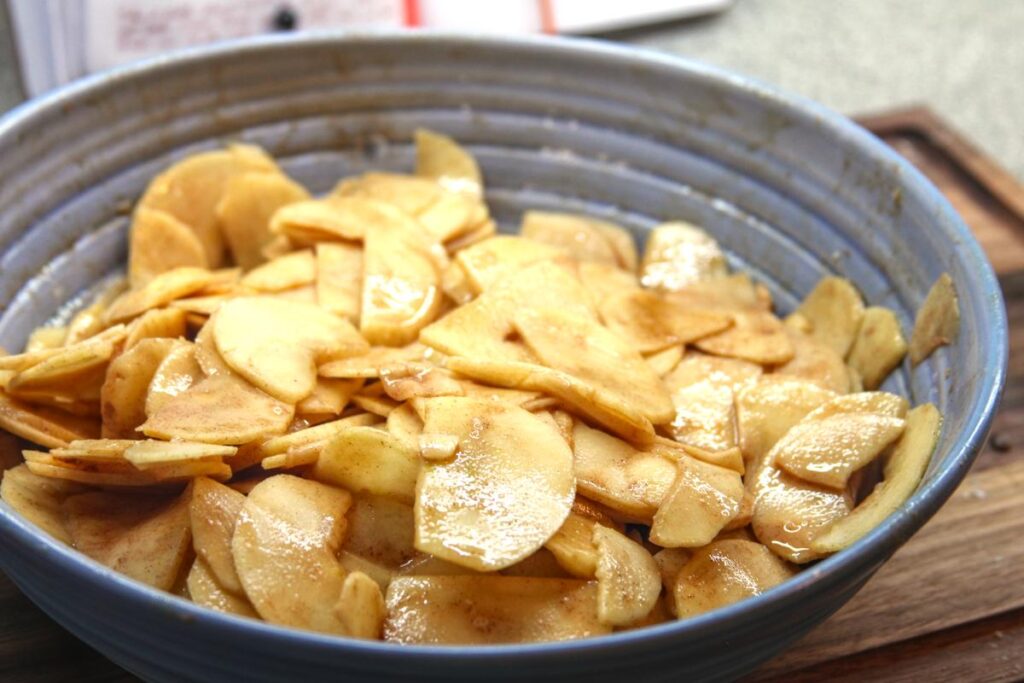
Place the sliced apples in a bowl and sprinkle the flours, cinnamon, and salt over them and gently toss to coat. Make sure to break up any stuck together stacks of apple slices. Once the dry ingredients are evenly distributed through the apples, add the brown sugar, lemon juice, sour cream, and vanilla and mix until all apple slices are fully coated.
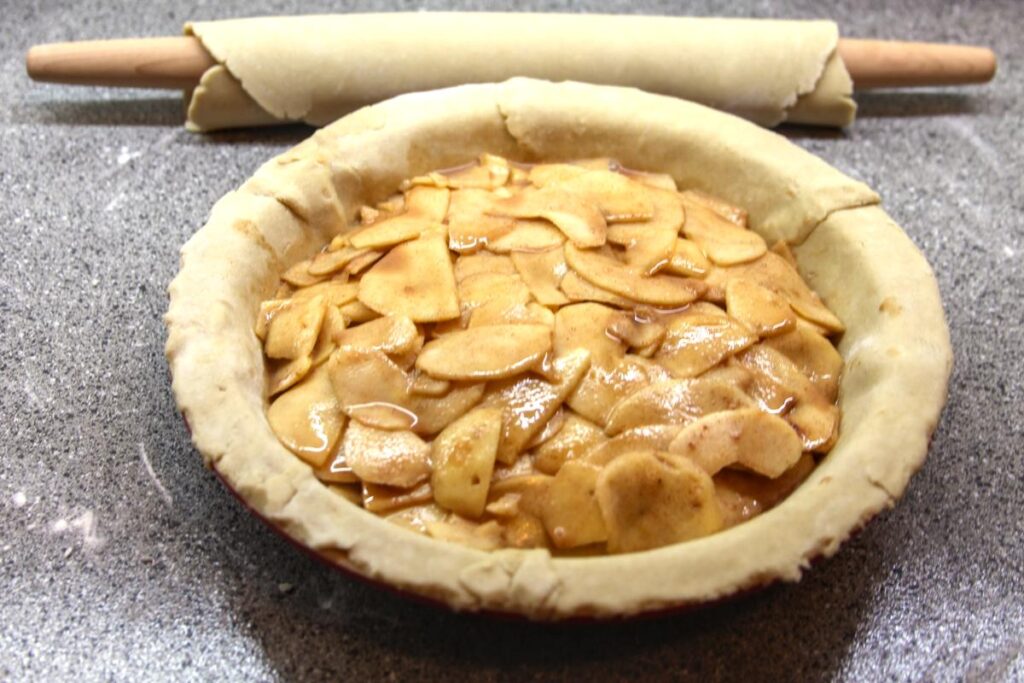
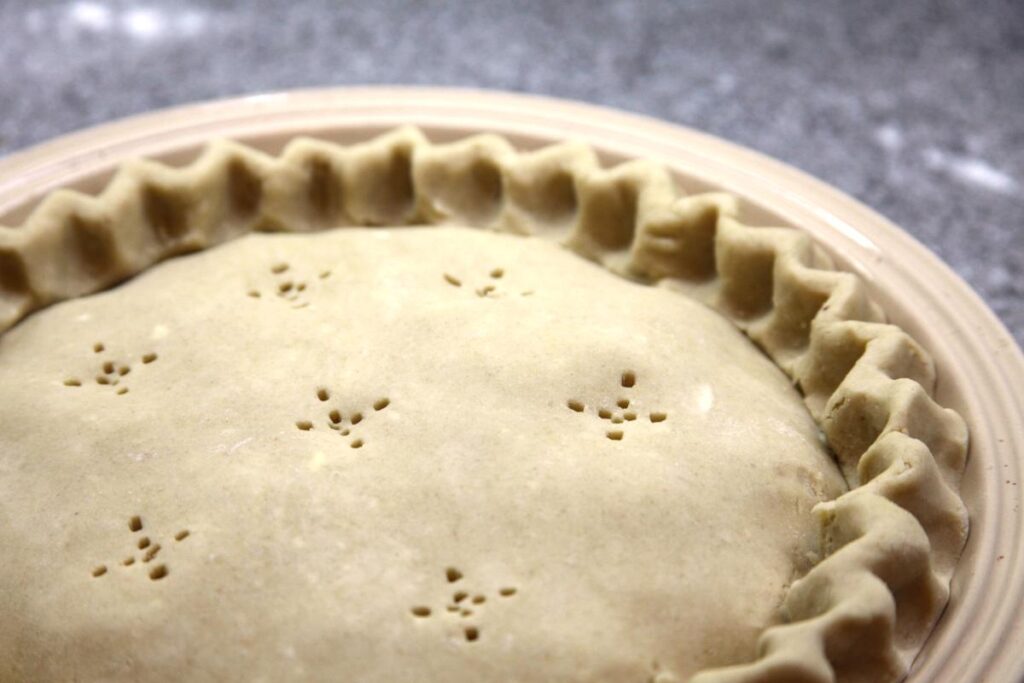
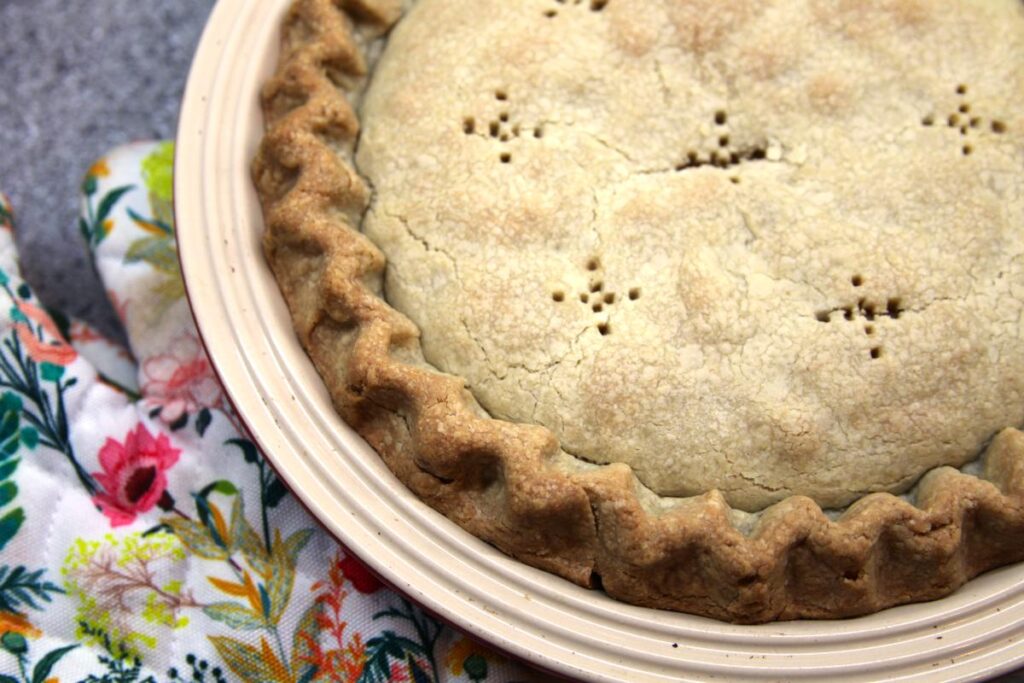
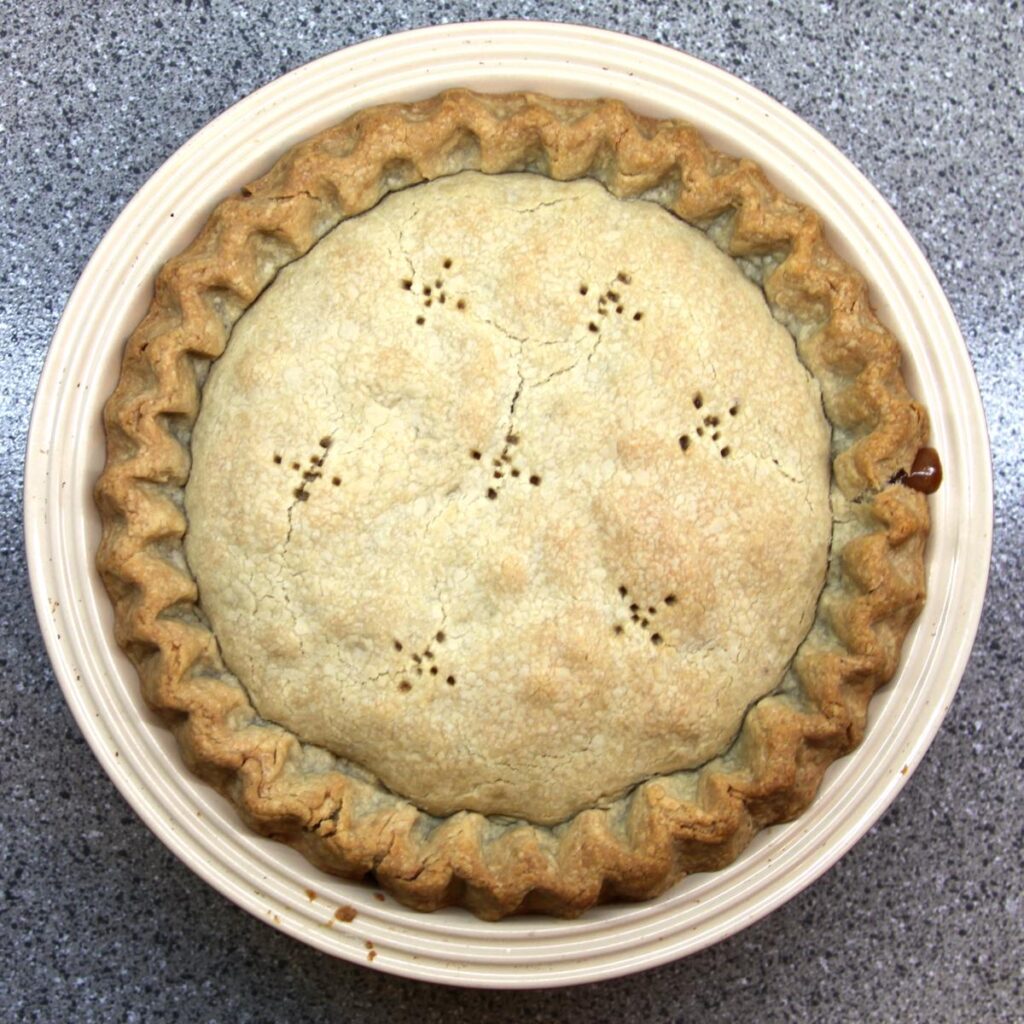
Fill the prepared pie crust with the apples, trying to make sure that the apples lay flat and don't form any empty pockets. Cover with the top pie crust and roll the edges together. See my pie crust recipe for a more detailed description on how to finish a pie crust. Poke holes in the top of the crust to allow hot air to escape during baking.
Bake your pie for 15 minutes at 425oF, then turn the oven down to 350oF and bake another 45 - 55 minutes or until the apples are cooked to your liking. I like my apples very soft, so I tend to bake mine for 55 minutes.
Allow to cool for at the very least one hour before cutting, preferably several hours or until completely cool. Waiting to cut the pie allows the filling to cool and solidify somewhat. If you cut the pie too early, all of the delicious apple juices will escape. This isn't the worst thing that could happen, but it does make for a messy pie.

The pie can be stored on the countertop for one to two days. If necessary, the pie can be stored in the fridge, however this can cause the crust to become soggy.
Pies are best eaten within 24 hours of baking.
If you aren't gluten free, you can substitute normal flour for the gluten free flours.
The sour cream adds a little extra tanginess and can be omitted if desired.
Preheat the oven to 425oF.
Gently toss the sliced apples with the tapioca starch, sweet white rice flour, cinnamon, and salt. Add the rest of the ingredients and mix until the apple slices are fully coated and the ingredients are evenly distributed.
Roll out the bottom pie crust and line the bottom of the pie plate. Fill the pie, then roll out the top crust and place over the filling. Roll the edges and apply any decorative touches (see my pie dough recipe for more detailed instructions on making a pie attractive). Poke or slash holes in the crust to allow steam to escape.
Bake for 15 minutes at 425oF, then turn the oven down to 350oF and bake until the apples are your desired level of softness, 45 - 55 minutes.
Remove from the oven and allow to cool for at least an hour before slicing.