

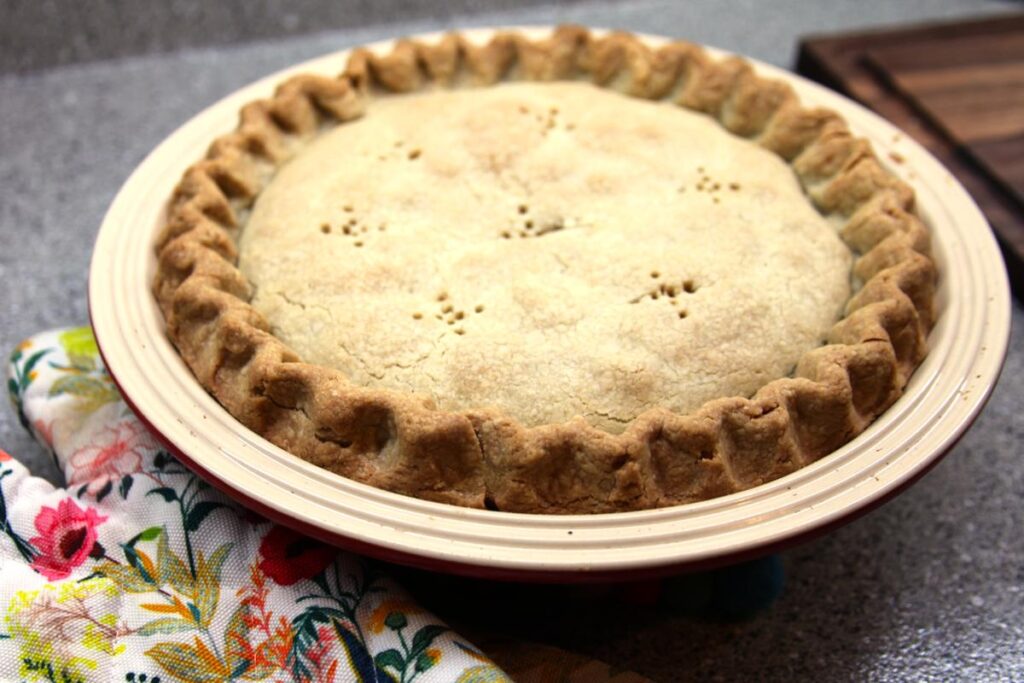
I like my pie crust tender, buttery, and a little crumbly (from all the butter) and this gluten free pie crust recipe doesn't disappoint. It rivals my grandma's pie crust recipe, which is how you know it's really good. It makes an amazing apple pie and is gum free!
I didn't always love pie. As a kid, I was highly suspicious of any pie that wasn't pumpkin. There's fruit and all sorts of stuff in a pie, who knows what could be in there? And why would you want a pie when there's chocolate, anyway? Luckily, I grew up and now enjoy a good pie, although I haven't lost all my suspicions (what's going on with rhubarb, for example). I've also discovered myself to be a bit of a pie crust snob. It seems to be shockingly easy to make a hard, dry, flavorless pie crust with or without gluten. This recipe is none of those things. My pie crust is tender and flaky and entirely delicious.
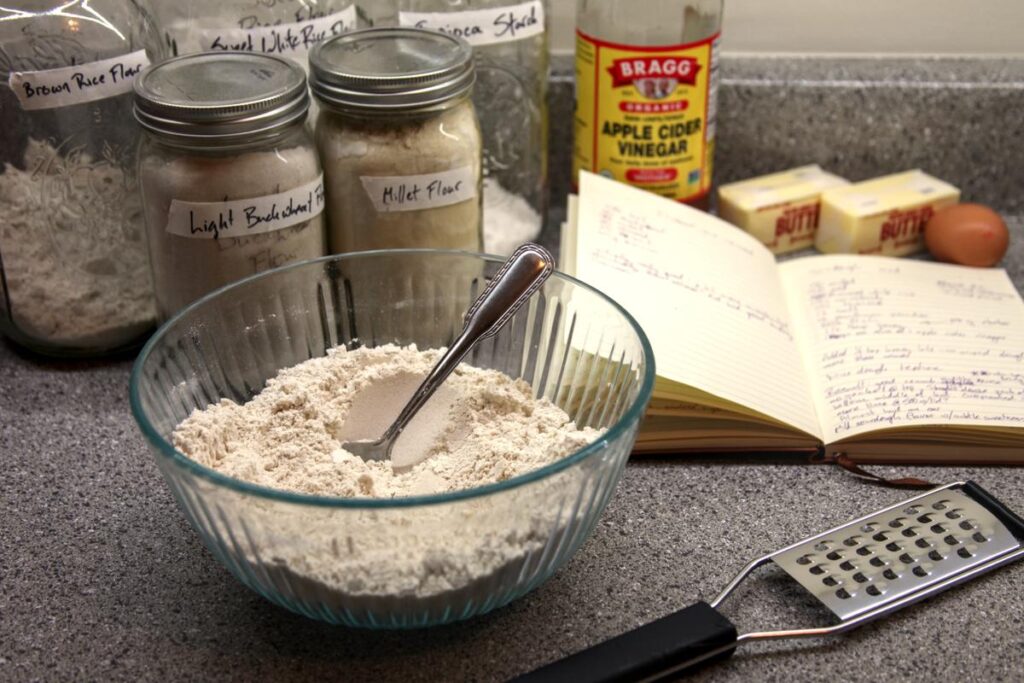
The final version of this recipe was actually a bit of an accident. I'd run out of several different flours in the middle of baking and I decided to roll with it and add in the flours that I thought would taste the most delicious and make the pest pie crust. The result has been better than I could have ever hoped. The pie crust is easy to work with and doesn't fall apart when I'm rolling it out and transferring it to the pie plate. I've borrowed a trick from my grandma's pie crust as well, adding in a tablespoon of apple cider vinegar for extra flavor and flakiness.
This recipe is maximalist, in that it requires six different gluten free flours. Someday I'll go back and make a simple, minimalist pie crust recipe, but until then I want to share with you what I consider to the the best, most delicious gluten free pie crust recipe. I promise that it's worth it.
This recipe contains affiliate links. When you purchase the products from these links I receive a small commission at no extra cost to you which helps to support this blog.
If you're in dire straits and need a pie now but don't have a rolling pin, a wine bottle (or other cylindrical bottle) can suffice in a pinch. Necessity is the mother of invention, so another baking dish can also serve as a pie tin if the need is truly that great. Instead of plastic wrap, you could use the noble plastic bag. Where there's a will, there's a way.
As far as pie weights go, there are many solutions. I, personally, use a large number of pennies. I have recently been contemplating investing in pie weights, however, as pennies are flat and don't lend themselves to supporting the sides of the pie crust very well. I have my eye on these, if you're looking for a particularly nice set.
The quality of gluten free flours is very important for the final product. The more finely ground the flour, the more successful your baked goods will be. If your baked goods aren't turning out quite how you'd like them to, your flour might be the culprit.
For information on where I source my gluten free flours, see my post on the subject.
When making any flaky pastry, it is essential to prevent the butter and the flour from fully combining. The thin layers of unincorporated butter are what creates flakiness during baking. To keep the butter pieces intact and prevent them from incorporating into the flour, we want to keep the butter as well as all liquids as cold as possible.
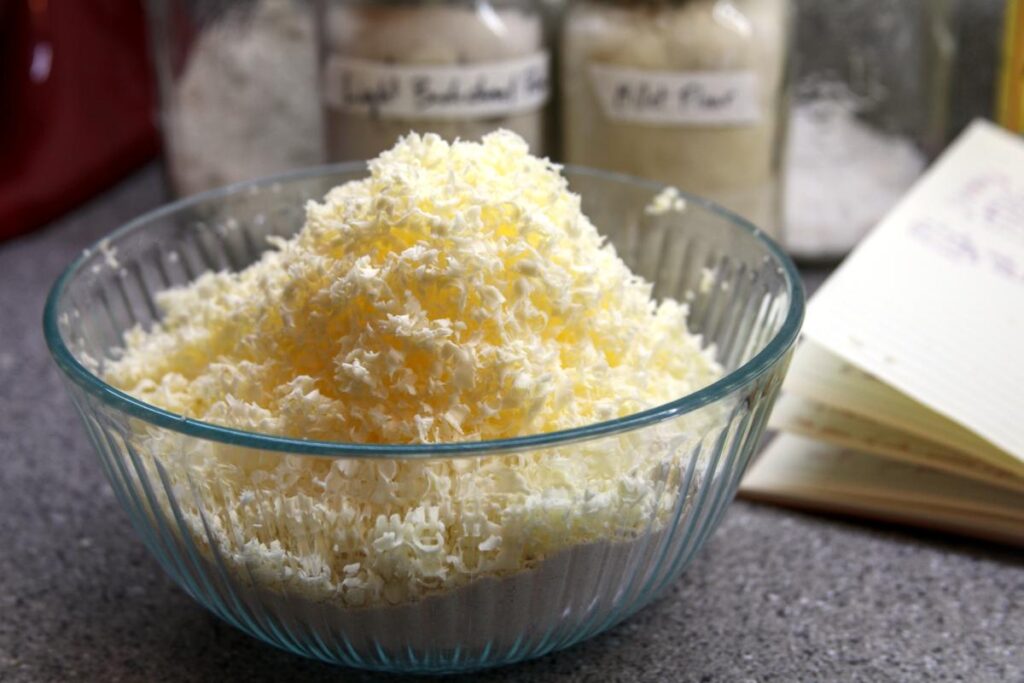
I freeze my butter and then grate it into the flour to accomplish just this effect. I also refrigerate my water and egg up until the moment I add them to the recipe to keep the butter as cold as possible. Grating the butter is key to achieving a perfectly flaky crust! Freeze your butter for at least an hour before you begin this recipe.
Measure out all the dry ingredients and whisk to combine. Make sure there are no clumps. You're now ready to grate the butter into the dry ingredients!
Grate the frozen butter directly into the flour mixture using the largest side of the grater.
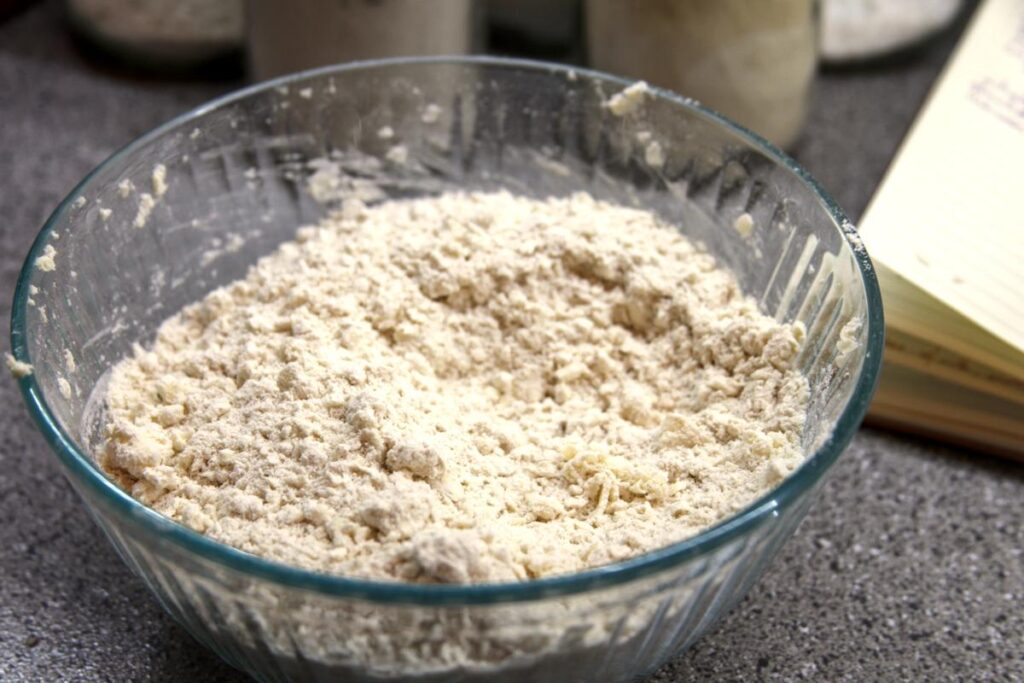
Gently stir the butter into the flour, aiming to coat each piece of butter with flour without mashing the butter. If there are any large clumps of butter, break them up.
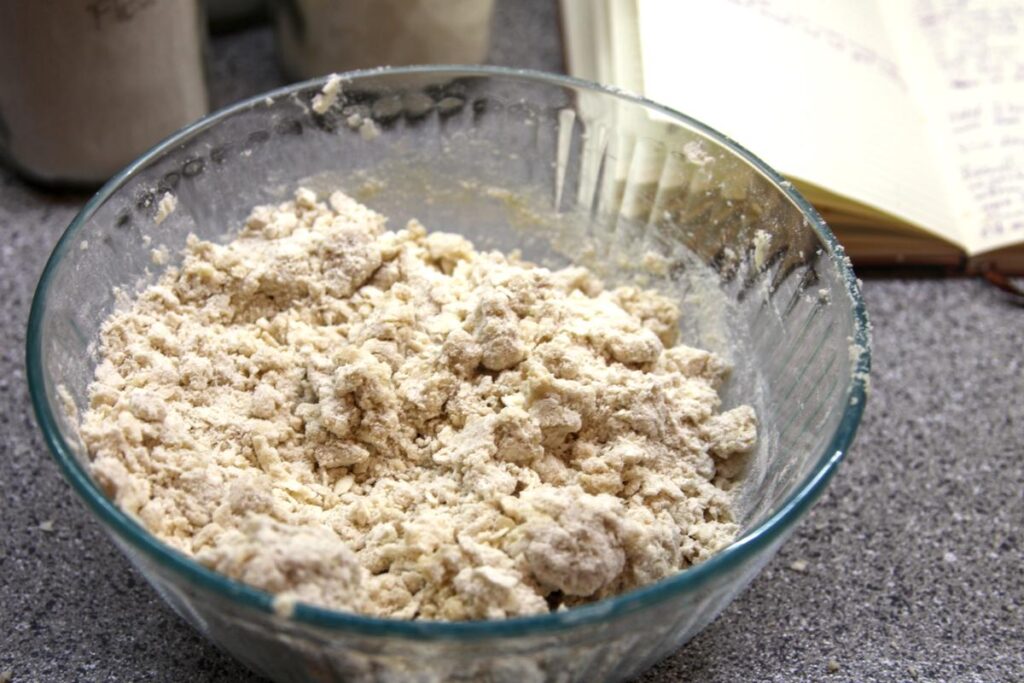
Quickly, whisk together the egg, the tablespoon of apple cider vinegar, and five tablespoons of cold water. Add to the flour-butter mixture and stir to combine.
The dough will be dry. Set aside the spoon and squeeze and knead the dough with your hands. Some of the dough will stick together in large clumps. Remove from the bowl until only the very dry portions remain. Add cold water, one tablespoon at a time, until the rest of the dough sticks together in a large clump when kneaded.
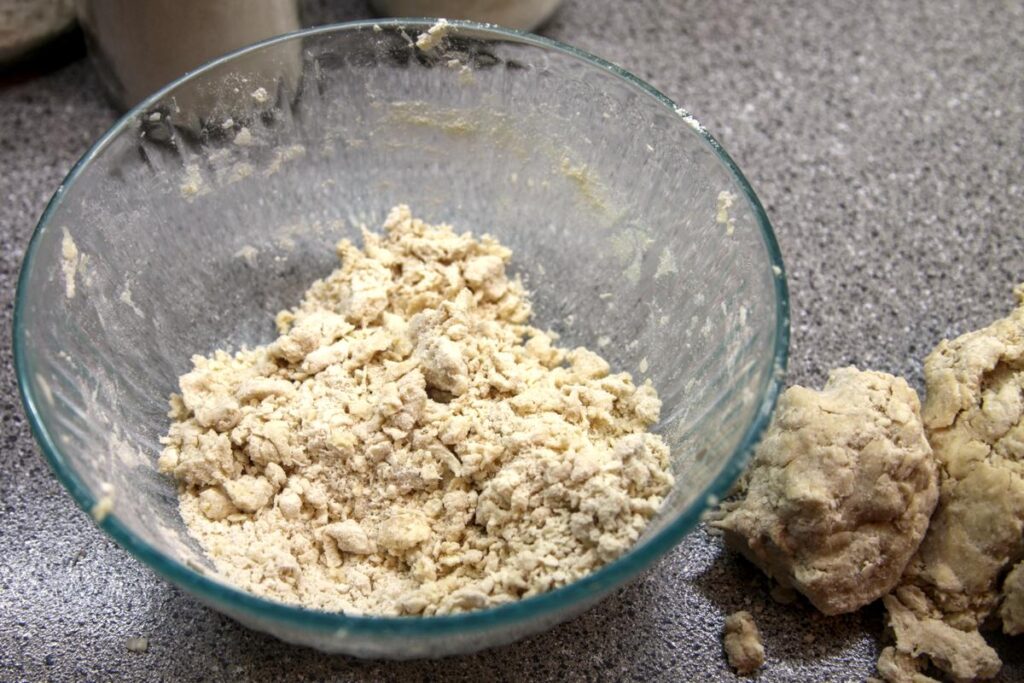
Combine all dough and knead until it has just come together. Avoid overworking the dough as the heat from your hands will cause the butter to melt which will reduce flakiness.
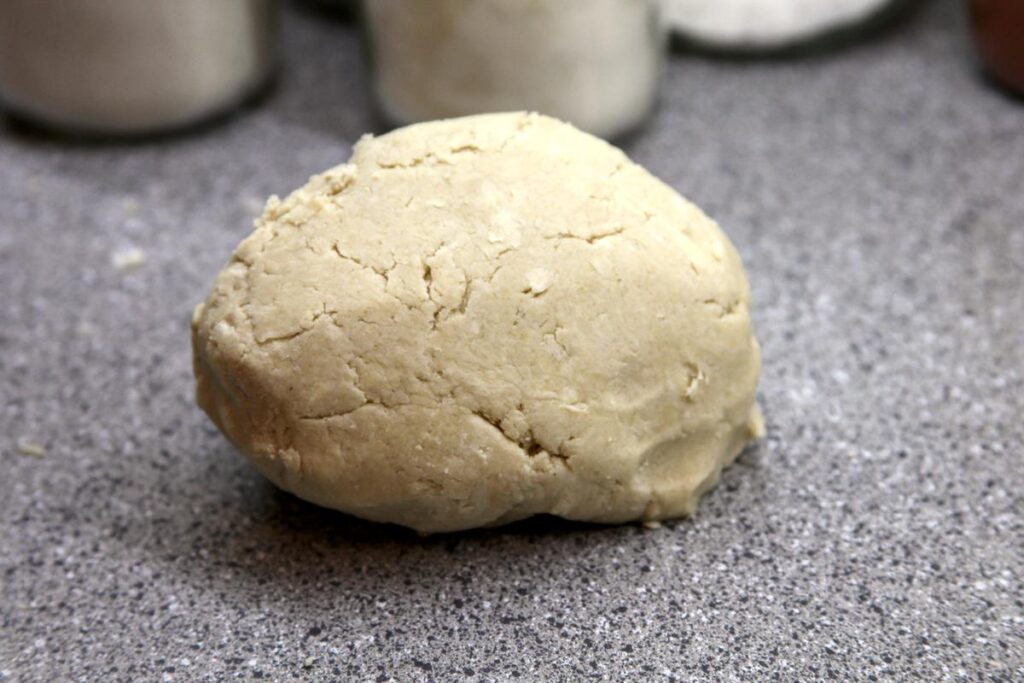
Wrap the dough in plastic wrap and refrigerate at least a half hour. This is an excellent time to prepare your pie filling.
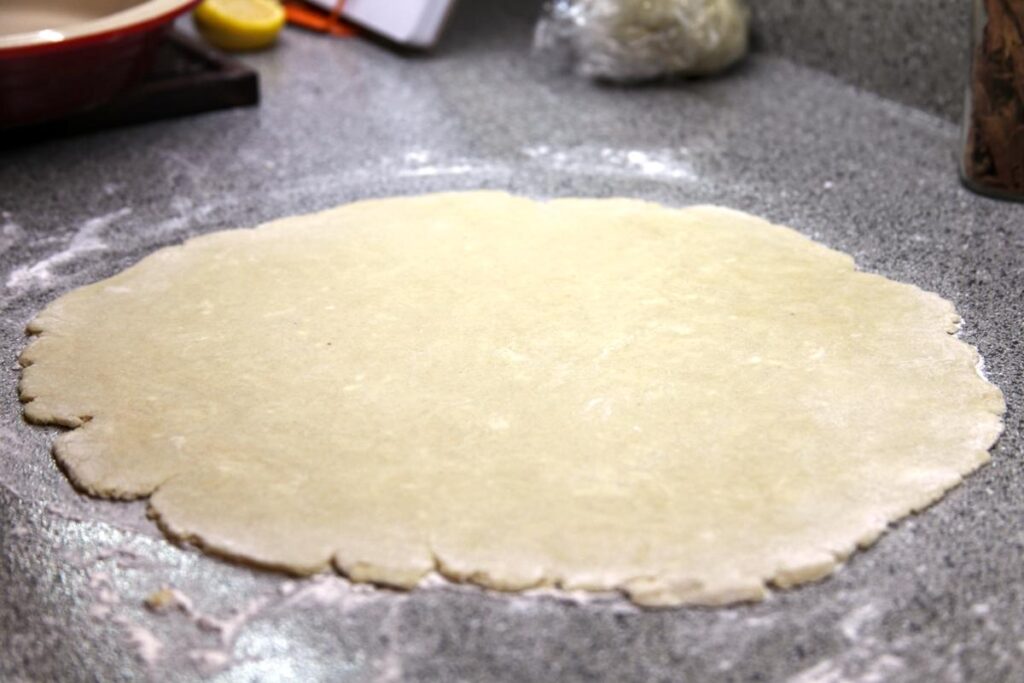
Remove the dough from the fridge and divide in half. Replace one half in the fridge. Dust the countertop with white or brown rice flour and shape the dough into a rough disk.
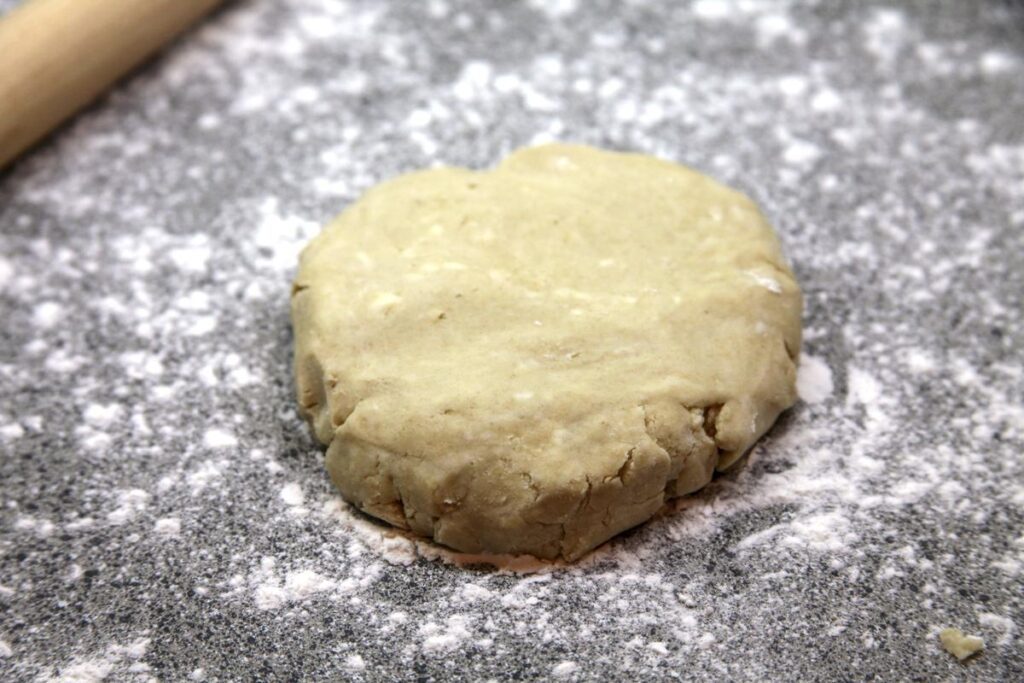
Roll out, regularly flipping the dough over and re-flouring the counter and dough to avoid sticking and ensure even rolling.
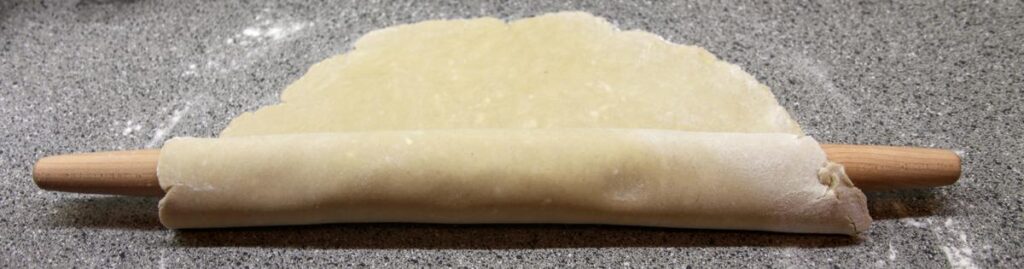
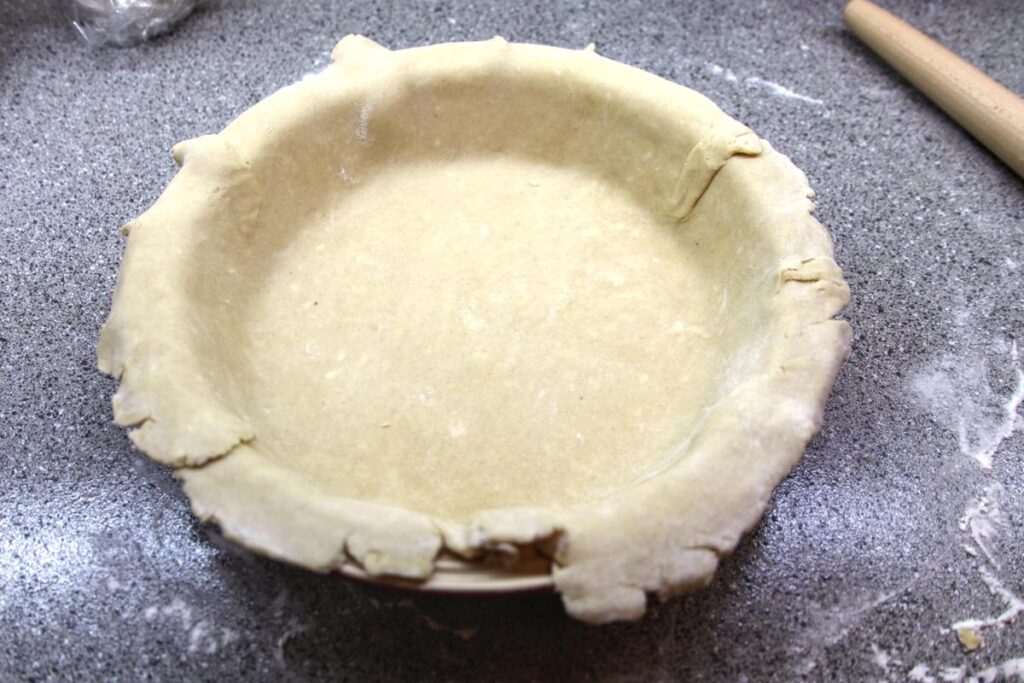
Once the dough is slightly larger than your pie plate, roll the dough up onto the rolling pin. Doing this helps the dough not break when you move it. Unroll the dough over your pie plate and gently press it down so that it conforms to the shape of the pan.
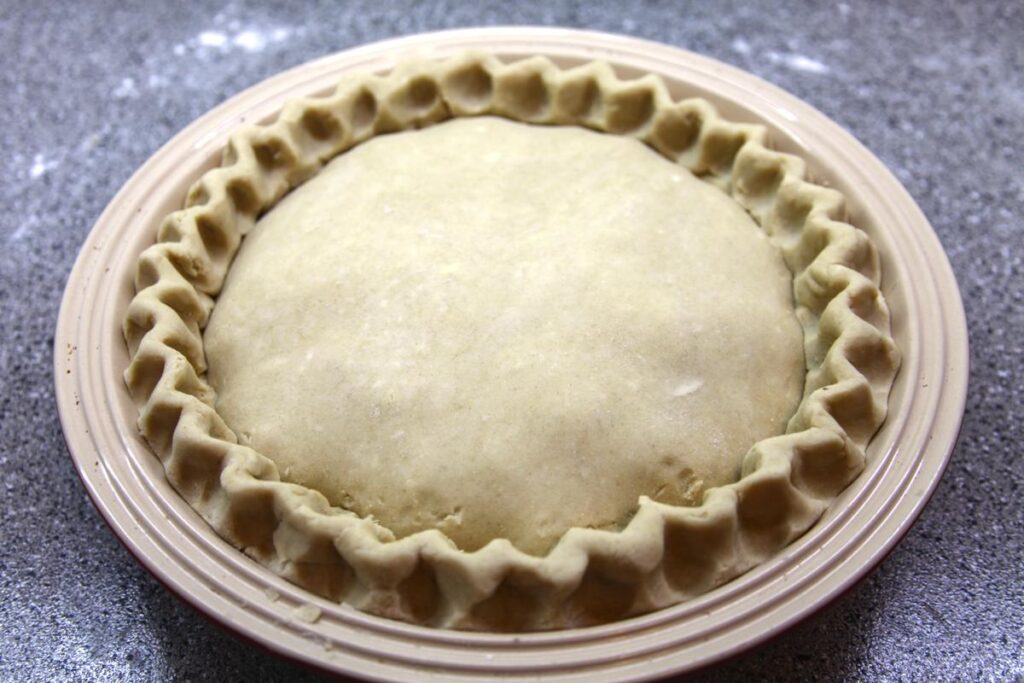
Trim the edges of the crust until they are roughly even. Repeat the rolling out method with the remaining crust and fill the pie. Roll up your dough on the rolling pin and unroll it gently over the filling. Gently press the top crust down onto the filling to remove air pockets.
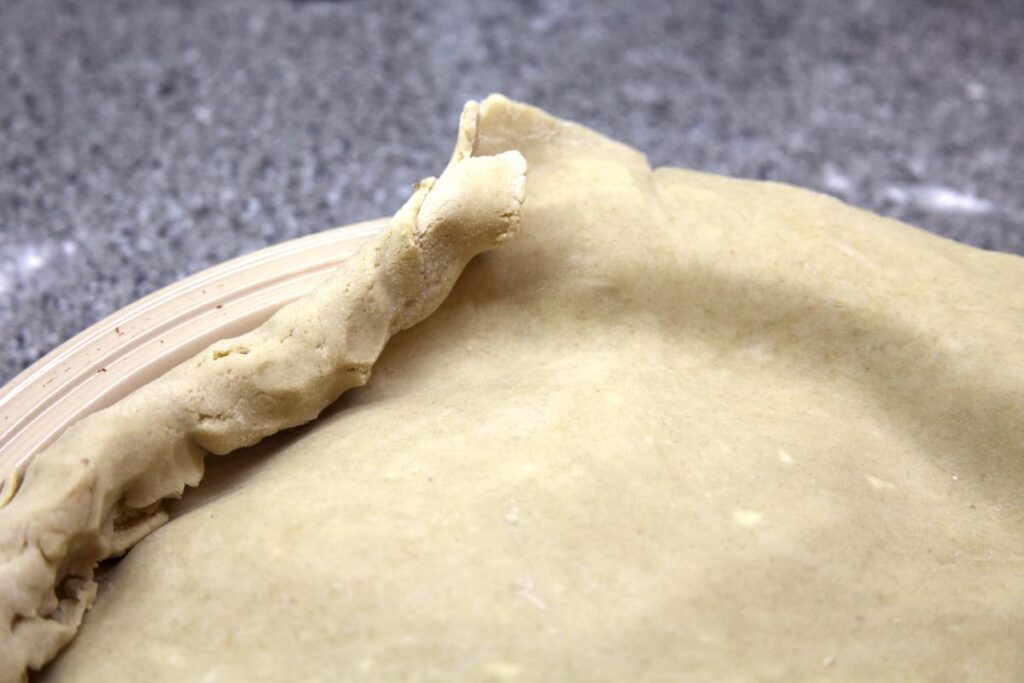
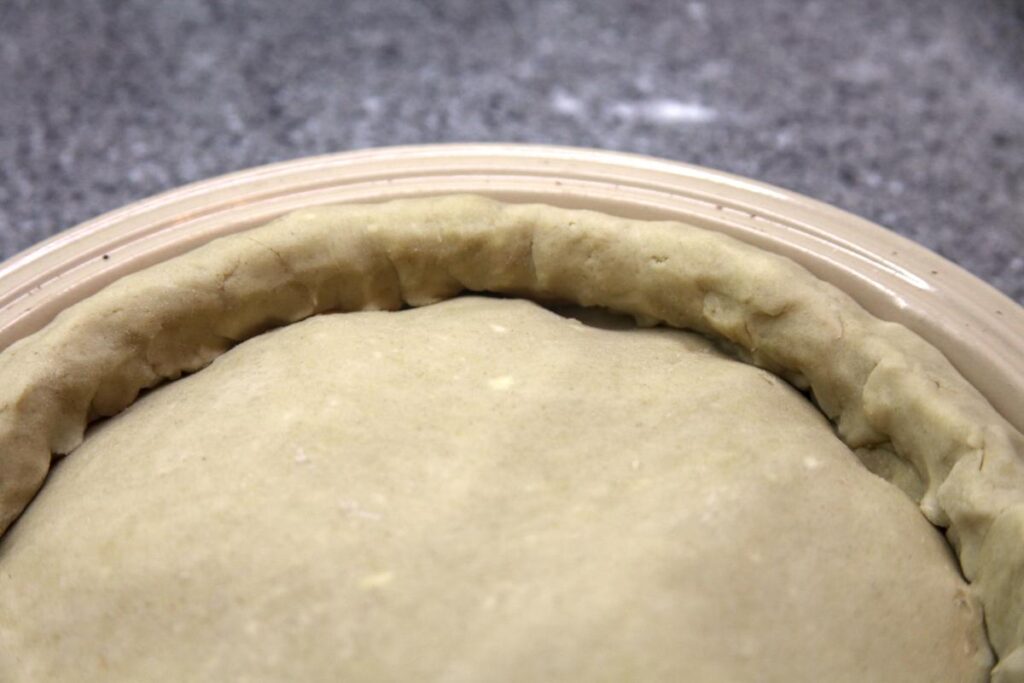
To shape the crust, roll the two edges together as in the pictures below. It will not look pretty initially, but don't worry, this is only the rough draft of the final crust. Once you've gone all the way around, try and smooth any particularly lumpy or disorderly areas.
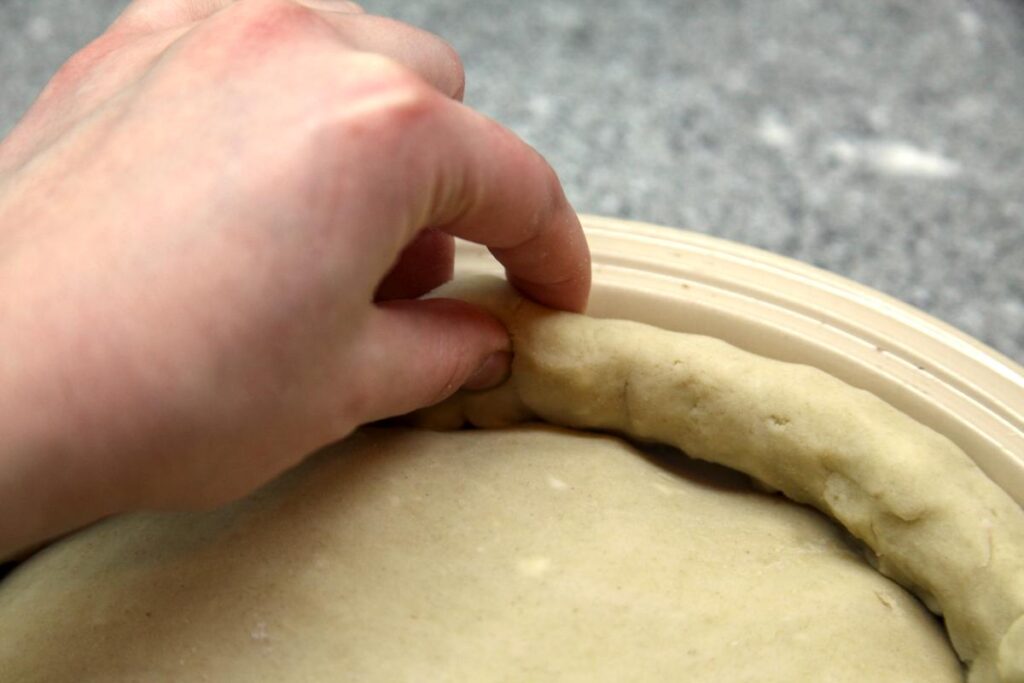
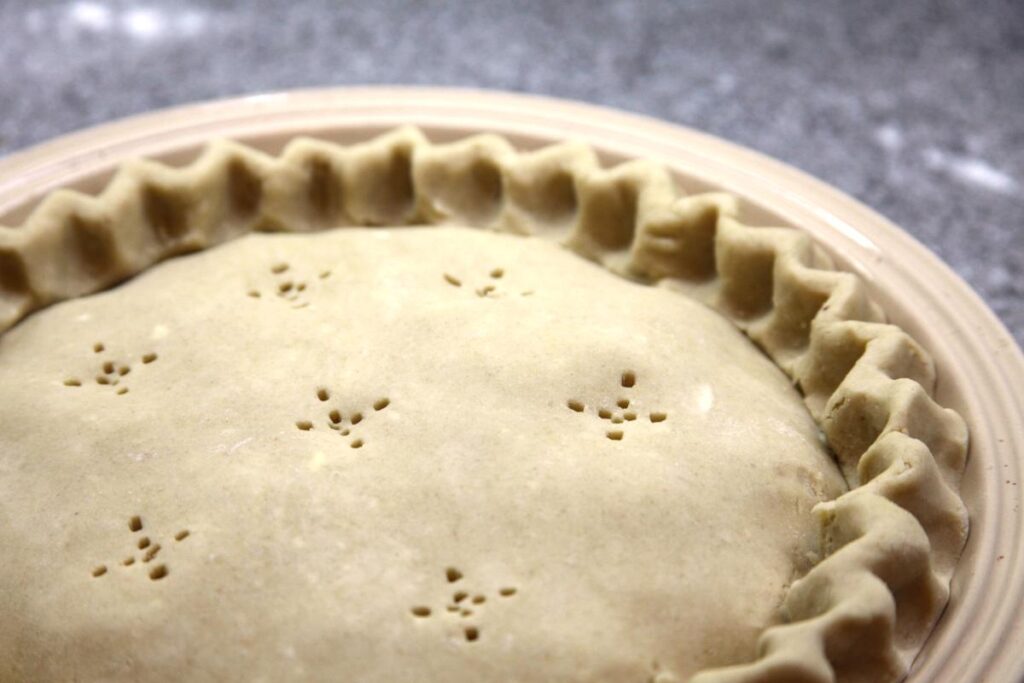
To make a rippled crust edge, take your thumb, middle, and pointer fingers on one hand and hold the far rolled edge of the pie in between them. Squeeze so your thumb goes in between your middle and pointer fingers. You will now have two indents on the outside of the crust and one indent on the inside.
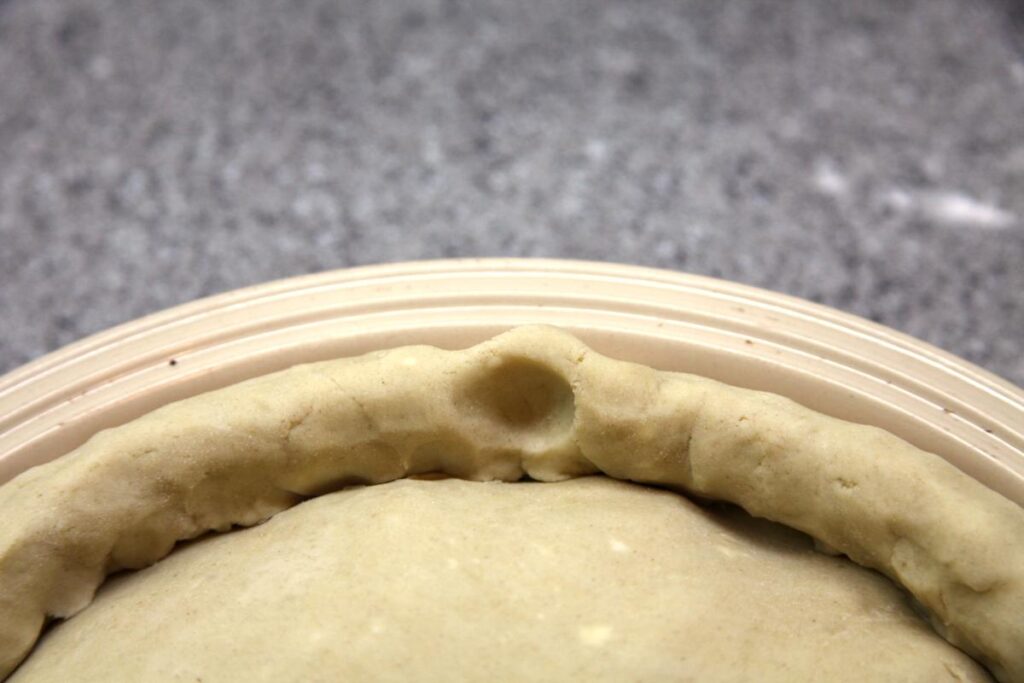
Move your hand to the left and place your pointer finger in the indent just made by your middle finger. Repeat the procedure, making a second fold. Repeat this procedure all the way around the pie.


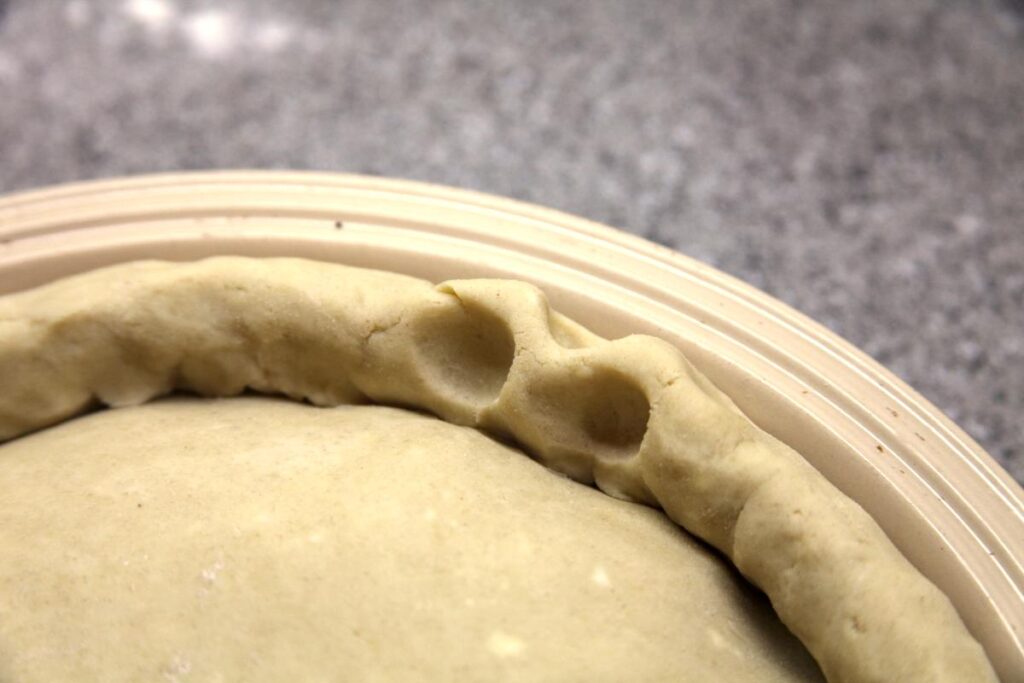
Sometimes, the folds will start to look like they are too tall. No worries, just gently pat them down so they are shorter. Re-shape any that look particularly strange.
Use a fork to poke holes in the top of your crust to allow air to escape during baking. Bake according to the pie filling recipe you're using.
For a shiny crust, egg wash right before baking.
The crust for an pen-faced pie needs to be pre-baked, a process also known as blind baking.
Preheat the oven to 400oF.
After placing the pie crust in the pie plate, move directly to the steps for forming the pie crust.
Once you have formed the crust, poke holes with a fork in the bottom and sides of the crust. This is to allow air to escape so that air bubbles don't form.
Take a piece of parchment paper and line the inside of the pie. Pour your pie weights into the parchment paper and arrange so that the entire crust is covered. Try especially to support the sides of the pie. Sometimes during a blind bake the sides of the crust can sag.
Bake for 18-22 minutes or until the crust is golden in color. Remove and allow to cool before filling, otherwise the crust can become soggy.
Bake in accordance with the filling recipe.
The unshaped pie dough can be kept in the fridge for a week or frozen for several months. If frozen, allow to thaw in the fridge at least 24 hours before using.
Dough that has been in the fridge for longer than a couple of hours may be difficult to work with. If you discover your dough is cracking and refusing to roll out smoothly, allow to warm up for 15 to 30 minutes at room temperature.
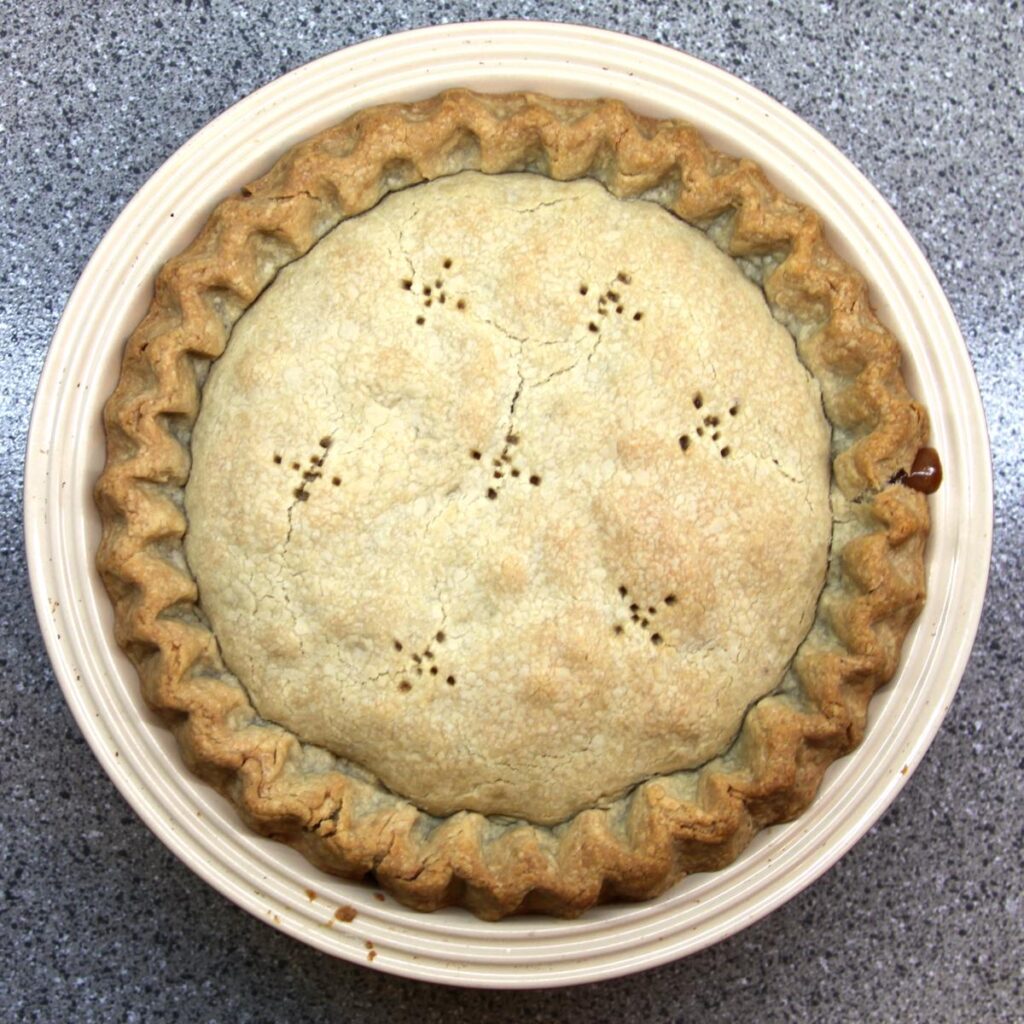
This tender, flaky gluten free pie crust is sure to delight everyone, even the gluten-free skeptic. It's easy to work with and doesn't fall apart when rolling out or during transfer to the pie plate. Most importantly, it's delicious!
Makes one top and one bottom pie crust or two shells for open-faced pies.
Thoroughly mix all dry ingredients together in a medium bowl.
Grate butter, using the largest size grater, into the dry ingredients. Once all butter is grated, gently mix into the dry ingredients, making sure to fully coat the butter pieces in flour and to break up any butter clumps that form.
Whisk together egg, apple cider vinegar, and 5 tbsp cold water, then add to the dry ingredients and mix with a fork or spatula. Add additional water tablespoon by tablespoon until dough is crumbly but clumps together when pressed. Knead briefly to form a cohesive mass. Do not over-work the dough. Wrap in plastic wrap and refrigerate for at least a half hour. Make your pie filling.
Remove the dough from the fridge and divide in half. Refrigerate half. Flour the counter top with rice flour. Pat the dough into a round and roll out. Wrap around the rolling pin and transfer to the pie plate.
If you are making an open-faced pie (pumpkin, pecan, etc.), roll the edges and form into your preferred crust shape. Blind bake before filling (see below).
If you are making a closed-face pie (apple, blueberry, etc. etc.), trim the edges to be roughly even and roll out the top crust. Fill the pie and cover the filling. Shape the crust (see detailed procedure for suggestions) and poke holes in the top of the crust to ensure that hot air can escape before baking. Bake according to the filling recipe.
Preheat oven to 400oF.
Use a fork to poke a couple holes in the bottom and sides of the crust to allow air to escape. Line the inside of the crust with parchment paper and pour in the pie weights. Arrange them so that the pie crust is covered and there are no areas where the crust might bulge up. Note that the sides of the pie have a tendency to sag downwards, and if you can provide extra reinforcement around the edges, it can help mitigate this.
Bake 18-22 minutes or until the crust begins to turn golden. Remove pie weights and allow to cool before filling.