


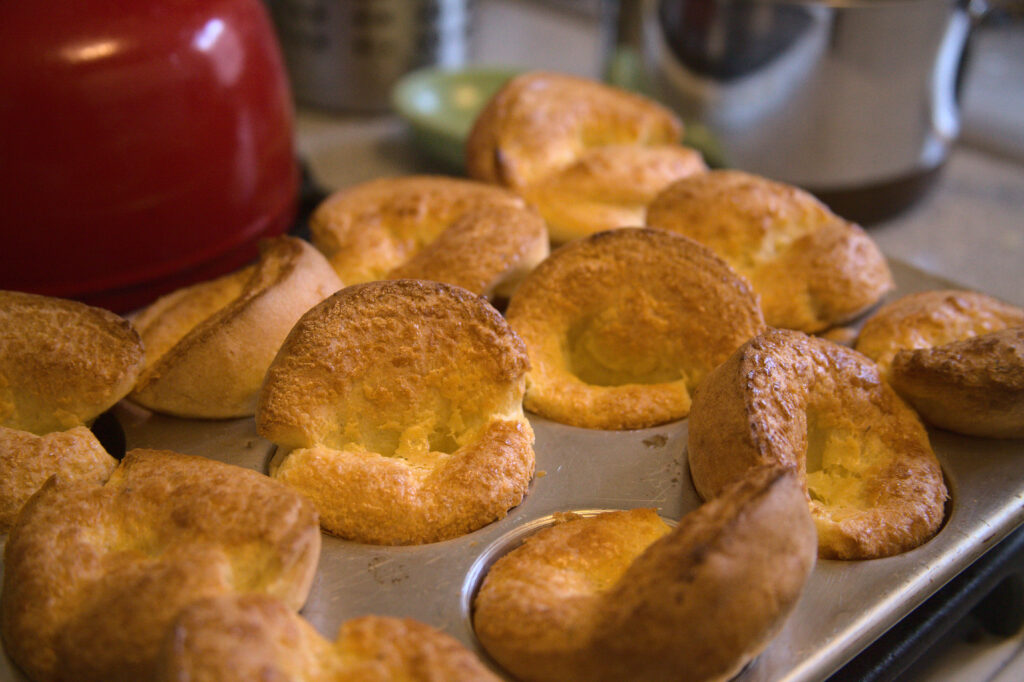
When I was growing up, I frequently had sleepovers with my best friend, Sally. Her mom made us popovers in the morning whenever I slept over. Once I was old enough to be trusted to work the stove and oven alone, I made them for myself at home. They are an immensely nostalgic weekend treat for me, and when I learned that I could no longer eat gluten this was one of the first recipes I wanted to make for myself. These absolutely hit the spot; buttery, crispy edges with a custard-like center.
Special Equipment
- Popover tin or muffin tin, metal
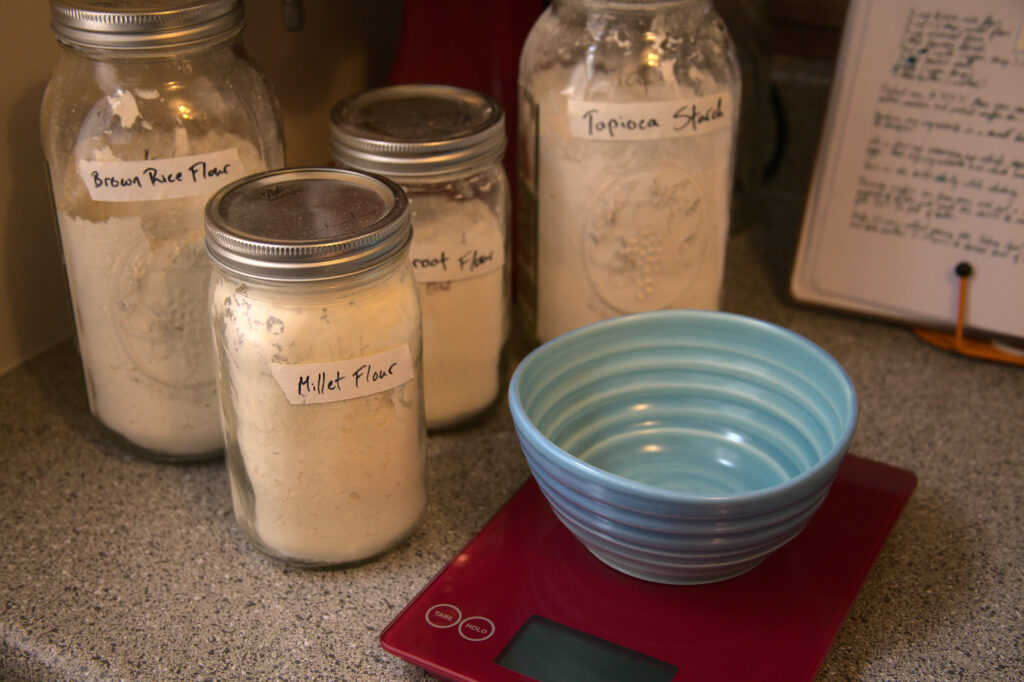
- Scale
Popover tins are essentially tall muffin tins. They typically only have six or eight wells and can hold more batter than a muffin tin can. I haven’t actually made popovers in a proper popover tin before, mostly because having one more pan in the kitchen doesn’t sound particularly nice when the muffin tin works so well. If you have a metal muffin tin, you should have no problems. Because this recipe gets an added boost from preheating the muffin tin, it’s likely that a silicone muffin pan won’t work as well (although I haven’t tried it).
If you make these in a silicone muffin tin and have success, let me know in the comments!
Recipe Tips and Notes
I give all major measurements in grams in this (and every other) recipe. I do this because a scale is easier to use and gives much more reliable results than a measuring cup, especially when using gluten free flours. I highly recommend having a scale in the kitchen (even if it is one more thing to fit in your cabinet) even if it’s just because if you weigh out ingredients then you won’t have to wash the measuring cups. As someone who cooks multiple times a day, saying that this feature is important to me is a bit of an understatement.
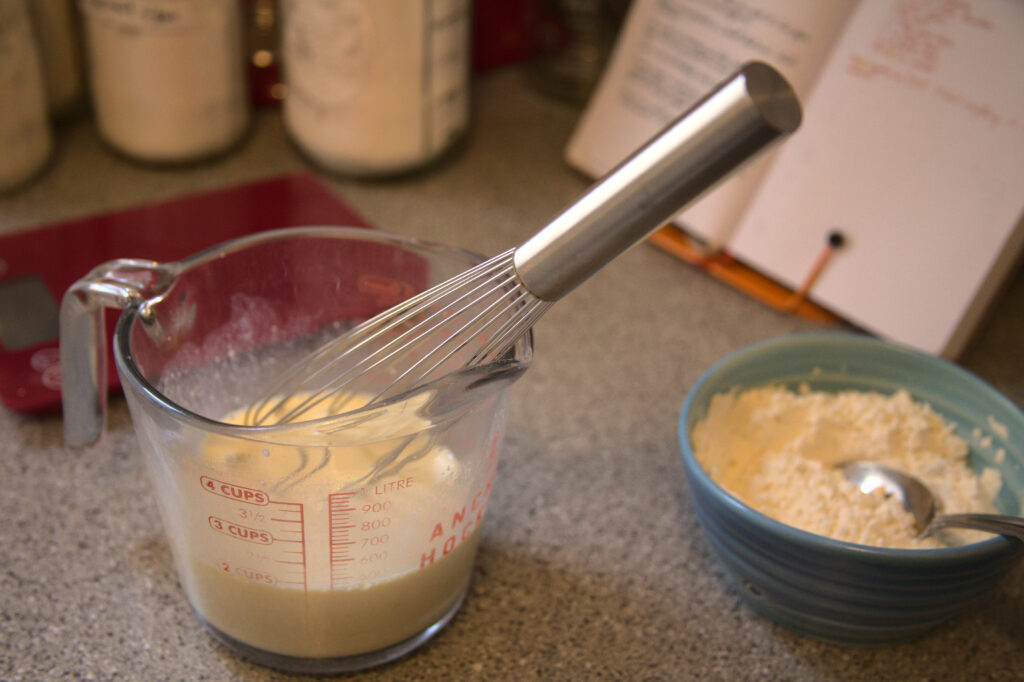
I find it helpful to mix the batter in a large measuring cup because it makes the batter much easier to pour into the muffin tin. If you don’t have a large measuring cup, a bowl with a spout or a ladle will help you transfer the batter easily.
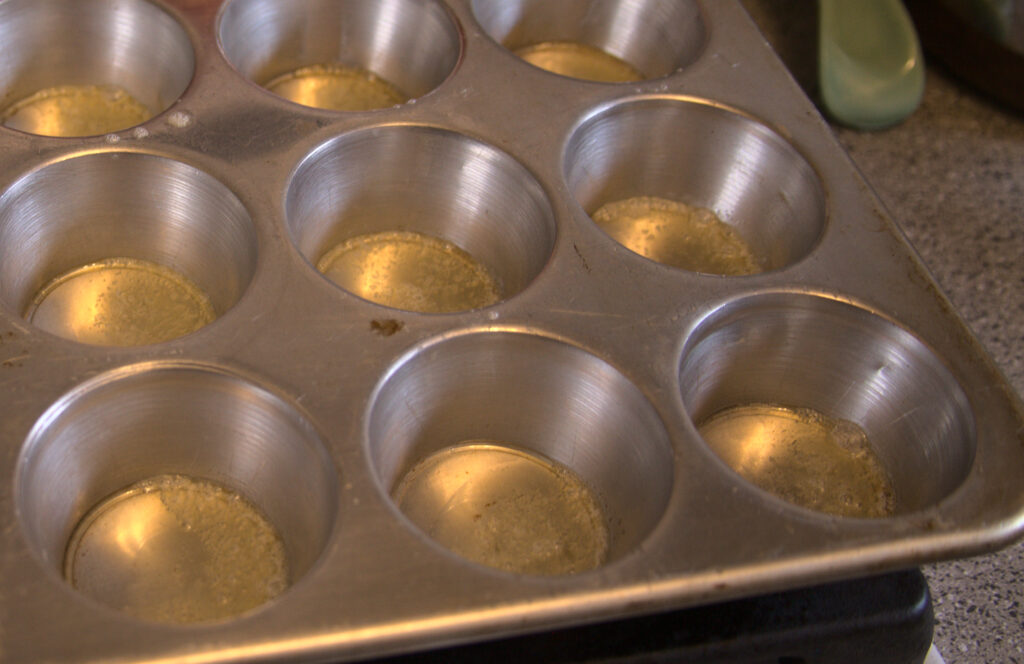
Once the muffin tin has come out of the oven, melt between 1/4 and 1/2 teaspoon of butter in each well. The key is to ensure the butter coats the bottom of the wells. If, after melting, the butter doesn’t cover the bottom when swirled, add more butter! The butter prevents sticking and helps the popovers rise properly.
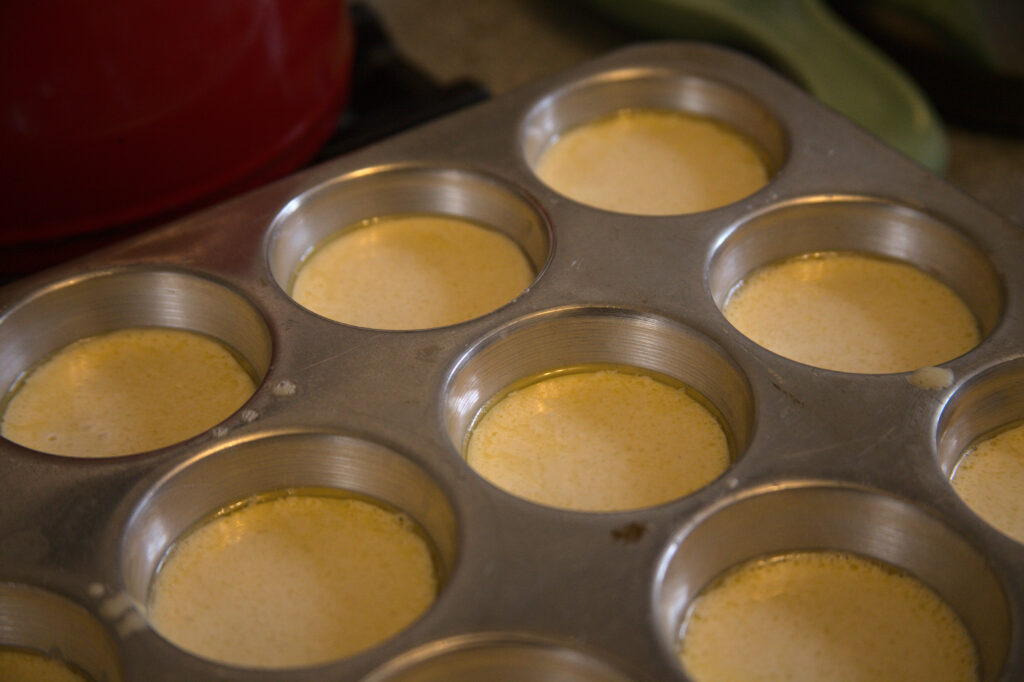
Fill the wells until they are 3/4 full, as below.
You’re ready to bake your popovers! Popovers rise a lot in the oven, and it is imperative that the oven temperature stay constant so a temperature fluctuation doesn’t disrupt the rise and cause the popovers to collapse. Once they are in the oven, don’t open the door until they’re ready to come out! Bake at 425oF for 25 minutes, then turn down the oven to 350oF and bake another 5 to 10 minutes until the popovers are browned as desired.
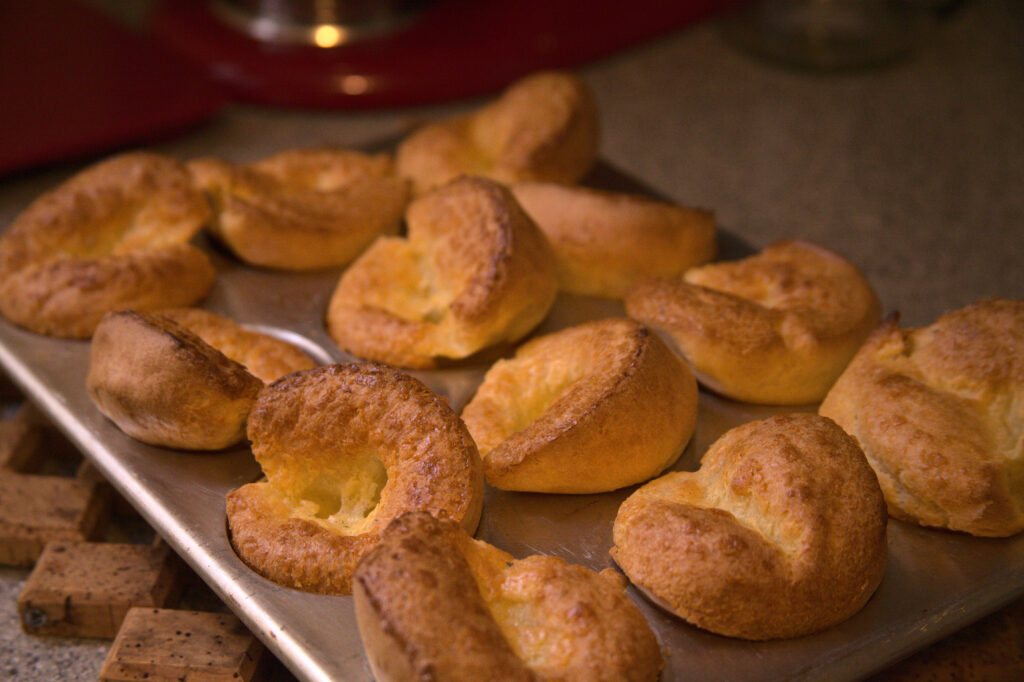
Gluten Free Popovers
These popovers make an excellent breakfast on a lazy Sunday morning. Serve with warmed honey or powdered sugar for dipping or drizzle with melted chocolate for a decadent treat.

Ingredients
Instructions
-
Method
- Place popover tin or muffin tin in the oven and preheat oven to 425oF.
- Melt 2 tablespoons butter and set aside to cool.
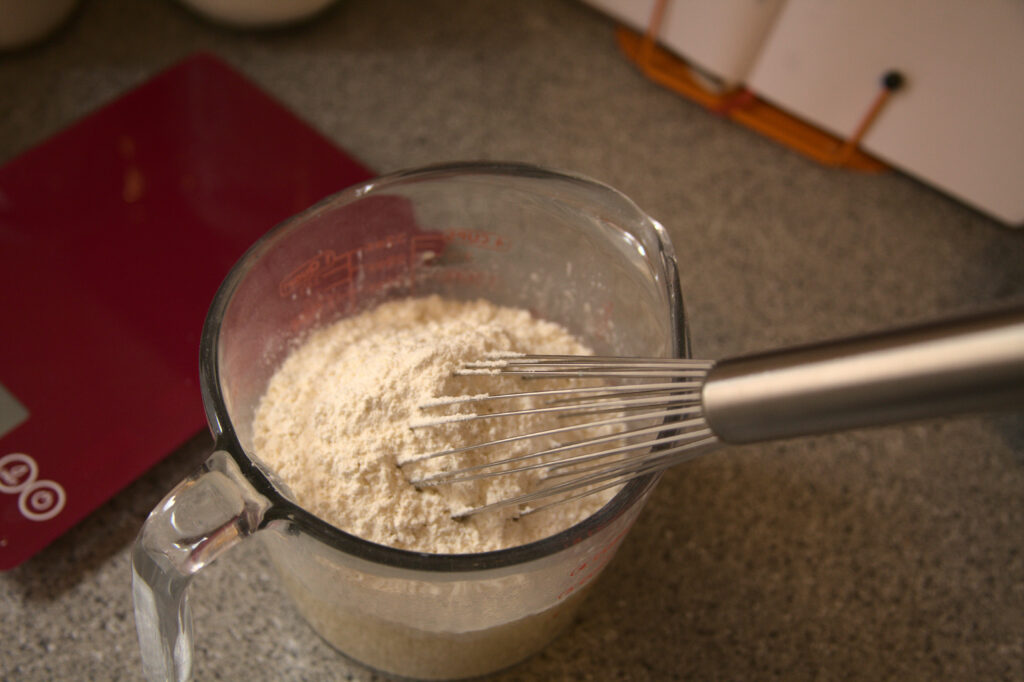
- Combine dry ingredients in a small bowl and whisk to combine. Set aside.
- In a bowl with a spout or a large, four-cup measuring cup, whisk together milk and eggs. Add dry ingredients and whisk until smooth.
- While whisking, drizzle in the melted butter. Whisk until fully incorporated.
- Once oven is preheated, remove the popover tin and melt a small amount of butter into each well, roughly 1/2 teaspoon (or less) each. Swirl to coat the bottom of the wells. Try to do this step quickly so the tin doesn’t loose its heat.
- Fill each well of the popover tin to 3/4 full, then quickly transfer the tin back to the oven. Bake 25 minutes, then turn the oven down to 350oF for 5-10 minutes. DO NOT open the oven until the popovers are finished baking.
- Allow to cool at least 5 minutes, then enjoy!