

Do you miss the feeling of walking into your local doughnut shop and walking out with a pillowy soft, perfectly glazed doughnut? I sure do. There aren't many gluten free doughnut shops out there, although I'm sure they exist. I've never been someone who regularly gets doughnuts, but after my diagnosis I felt the lack of a good doughnut acutely. I guess you don't know what you have until it's gone.
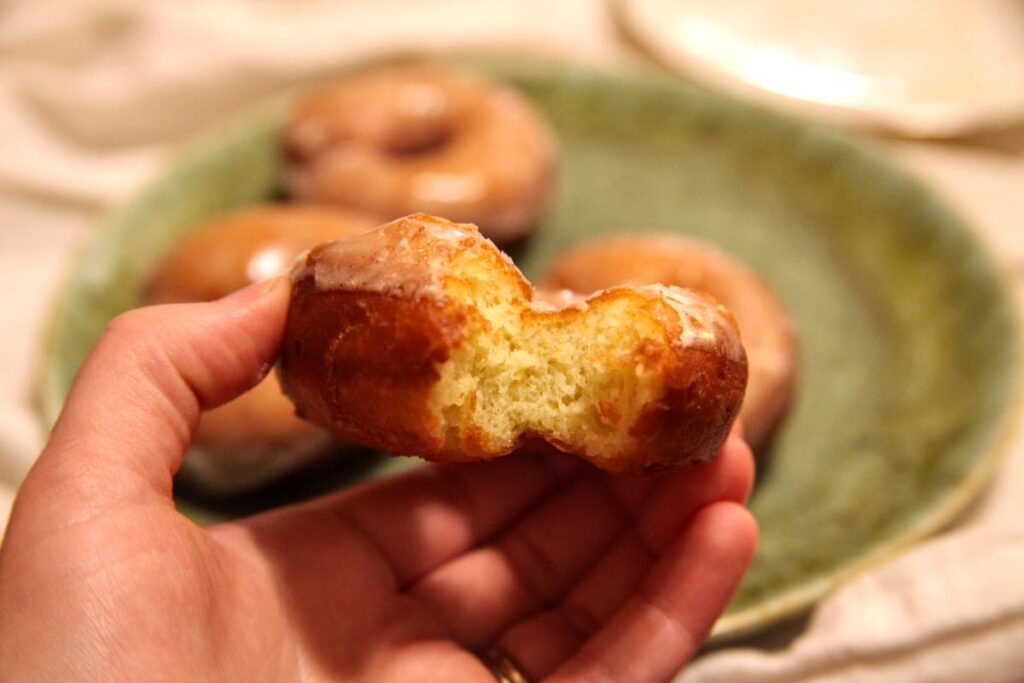
There have been a lot of cake-type doughnuts in recent years, and I can't blame people for being into them. Cake is delicious, and a doughnut is a wonderful form factor for it. However, sometimes you really want your doughnut to be fried. I developed this recipe from one written by a now-defunct blog called Kimi Eats Gluten Free. It used a gluten free flour blend that is unavailable in the US and so I adapted it to use individual gluten free flours. The results are, quite frankly, perfection. The doughnuts are tender and airy and have the sweet, yeast-y flavor of a traditional doughnut. My partner, who can and does eat gluten, called them transcendent.
For all that hype, they're surprisingly easy to make. The dough is also very forgiving in a way that most yeasted doughs aren't. I once left the batter on the counter more than an hour longer than I meant to and they still fried beautifully. If you miss doughnuts, give these a try!
This recipe may contain affiliate links. When you purchase the products from these links I receive a small commission at no extra cost to you which helps to support this blog.
You can use a heavy duty plastic ziploc bag in place of the piping bag if you don't have a piping bag on hand. Just fill the bag with the dough and snip off one of the corners.
The parchment paper is an absolute must for this recipe. Without it, there isn't an easy way to transfer the piped doughnuts to the hot oil.
The quality of the gluten free flours used in baking is very important for the texture and consistency of the final product. The more finely ground the flour, the more successful your baked goods will be. If your baked goods aren't turning out quite how you'd like them to, your flour might be the culprit.
For information on where I source my gluten free flours, see my post on sourcing gluten free flours.
Measure out the milk and microwave until it reaches ~105oF. This takes 45 seconds in my microwave, but I recommend checking the temperature after 30 seconds. Alternately, heat on the stovetop in a small saucepan.
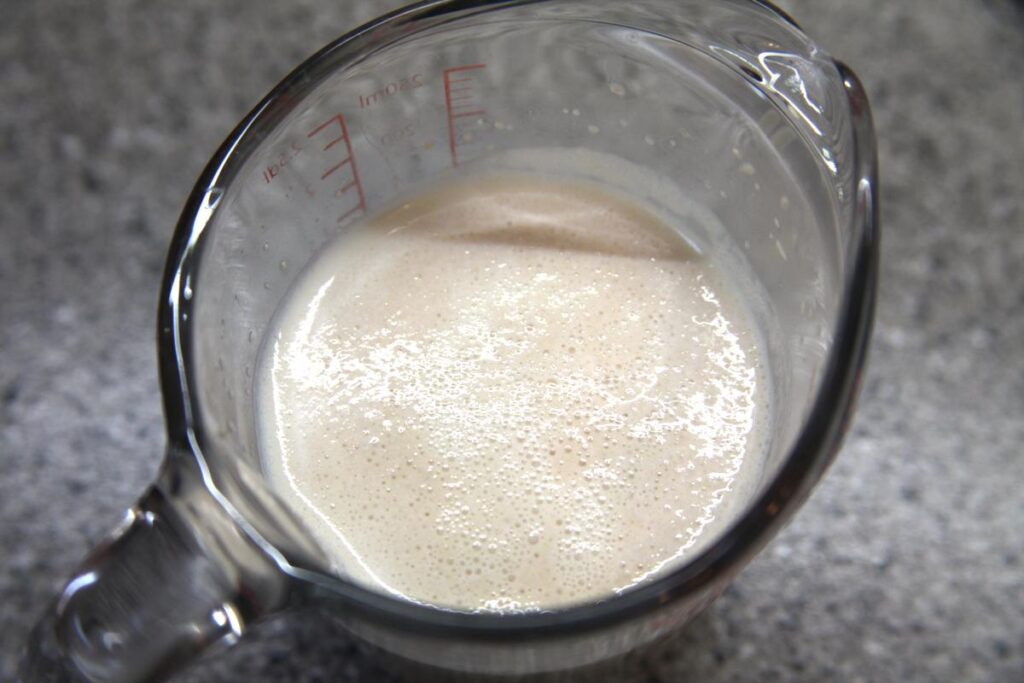
Add a pinch of sugar and the yeast and whisk to combine. Set aside for 5 to 10 minutes to allow the yeast to become active. The yeast is active when you can see small bubbles and/or foam on the surface of the milk.
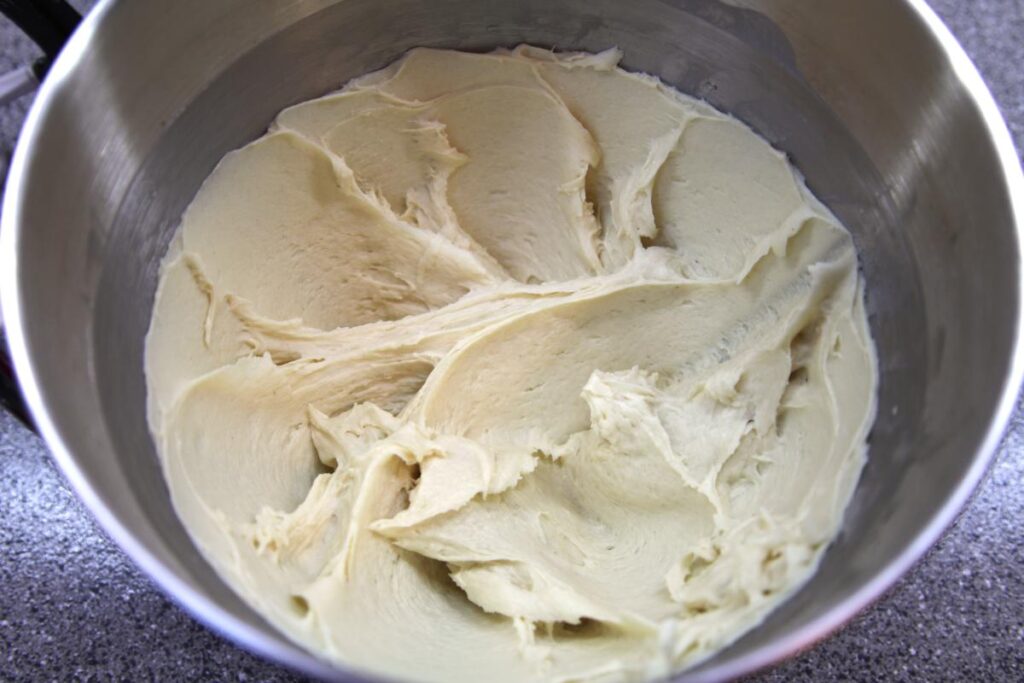
While the yeast is activating, melt your butter and measure out the other dry ingredients into the bowl of a stand mixer. Once the yeast is active, add the yeast mixture, the egg, and the melted butter to the bowl of the stand mixer and beat with the paddle attachment until combined.
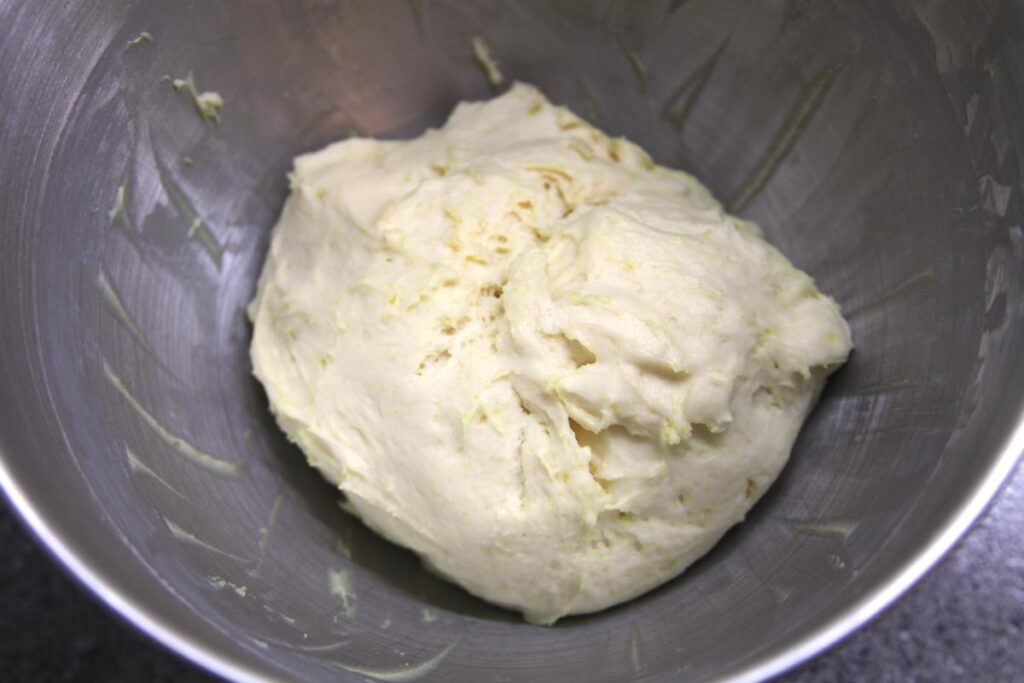
Scrape down the sides of the bowl and the beater, then beat for an additional one to two minutes until the dough is completely smooth. It will look like this:
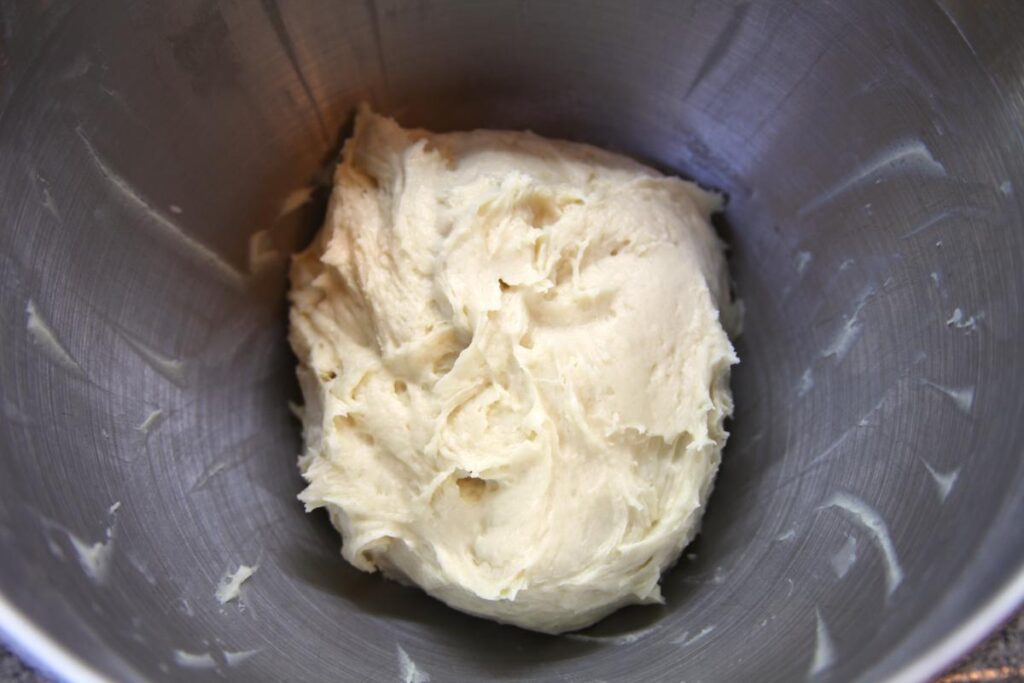
Scrape the dough off the sides and into a ball, then cover the bowl with plastic wrap and allow to rise on the countertop for at least an hour and up to two hours. The longer you allow the dough to rise, the more of a yeasted flavor the doughnuts will develop.
I've left this dough on the countertop to rise up to two and a half hours without issue. The addition of baking powder to the dough means that the rise isn't only dependent on the yeast which makes a longer fermentation time possible.
While your dough is rising, make the glaze. Warm up the milk and butter together until the butter has just melted. Combine all the ingredients in a small bowl and whisk until smooth. If the glaze is very thick, add a little extra milk or cream to thin it. Set aside for later.
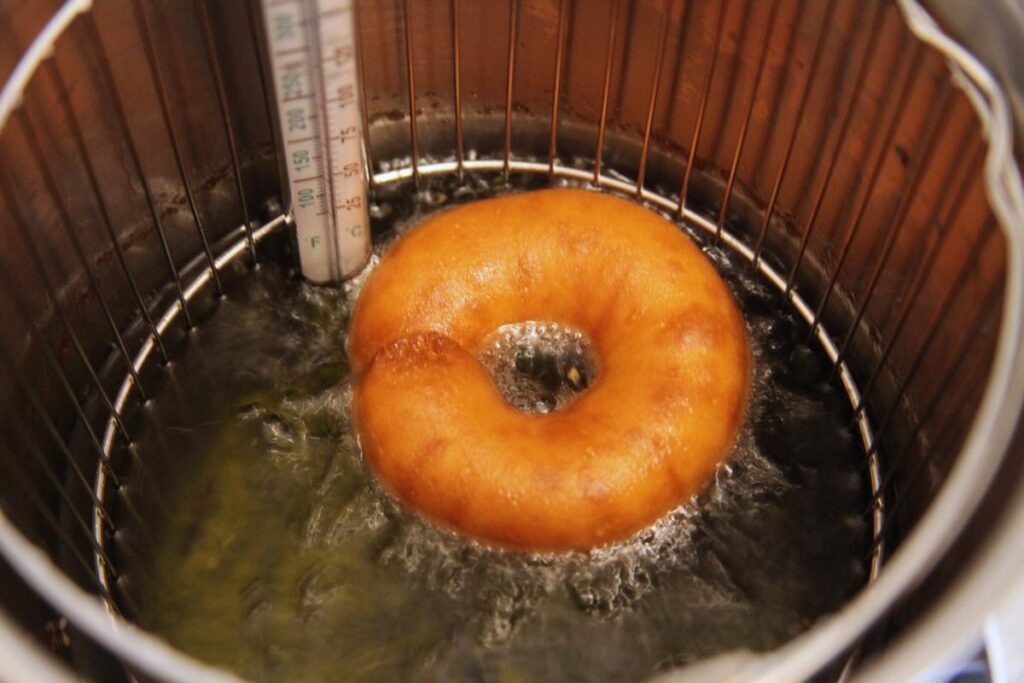
Once you are ready to make the doughnuts, begin by starting to heat the oil. These should be fried in at least two inches of oil. Pre-heat the oil to 325oF using a candy thermometer to monitor the temperature.
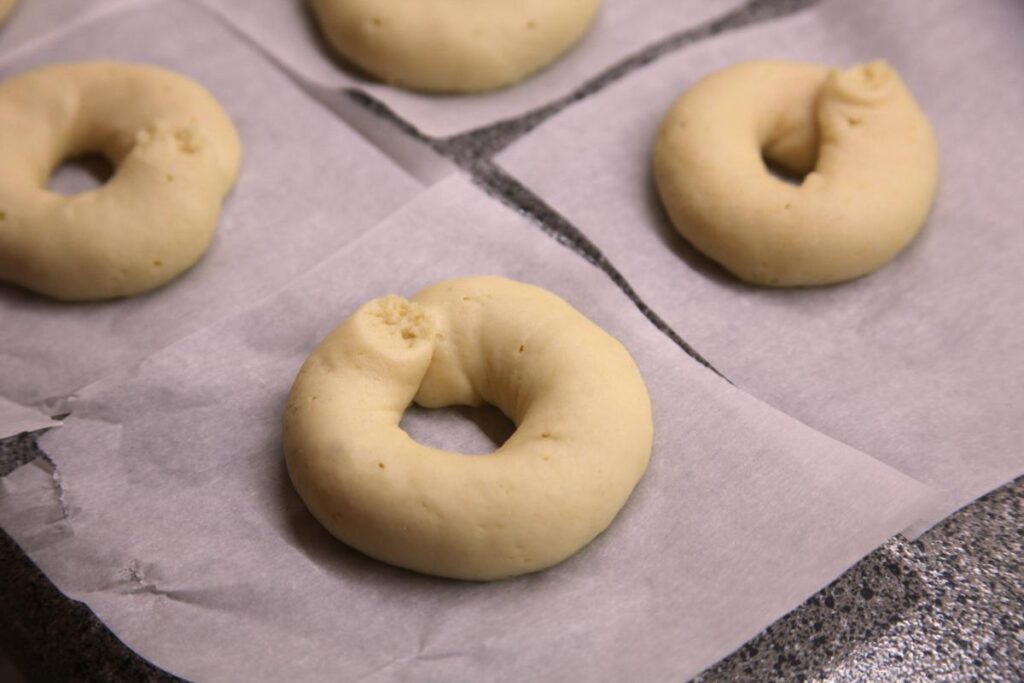
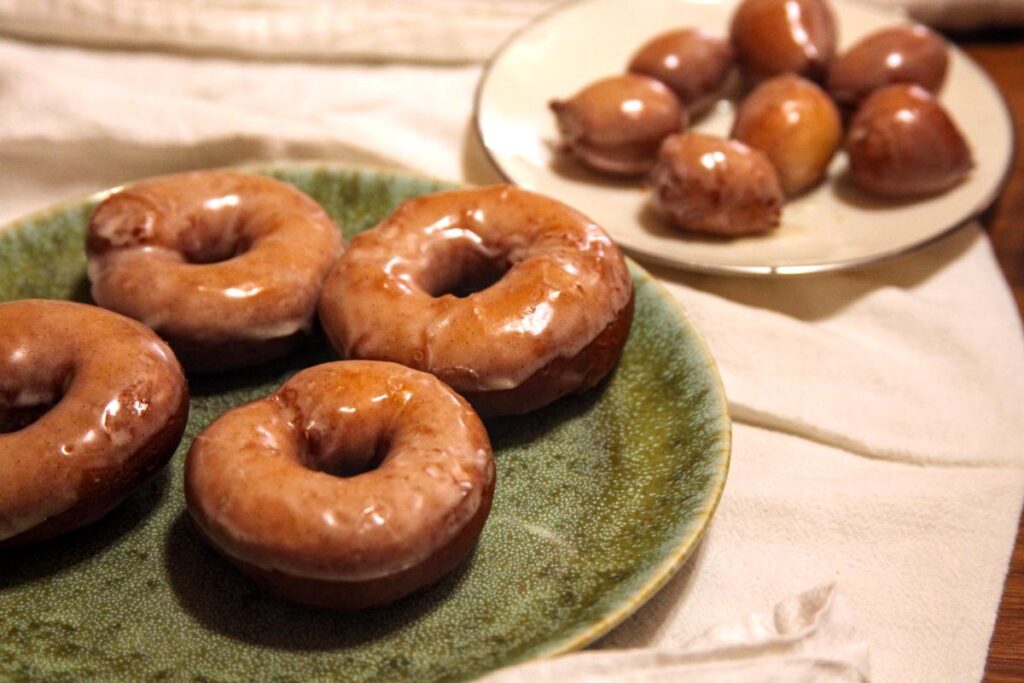
While the oil is heating up, pipe the doughnuts. Lay out a sheet of parchment paper on a clean countertop. Scoop the dough into a piping bag fitted with a large diameter tip. Pipe the doughnuts. I pipe them so they have a diameter of 3 to 4 inches. This yields me eight doughnuts plus a couple of "doughnut holes." You can make them larger if you'd like. If you do, I recommend using an even larger piping tip. If you would like to hide the piping lines, simply wet your finger and use it to smooth the top of the doughnut.
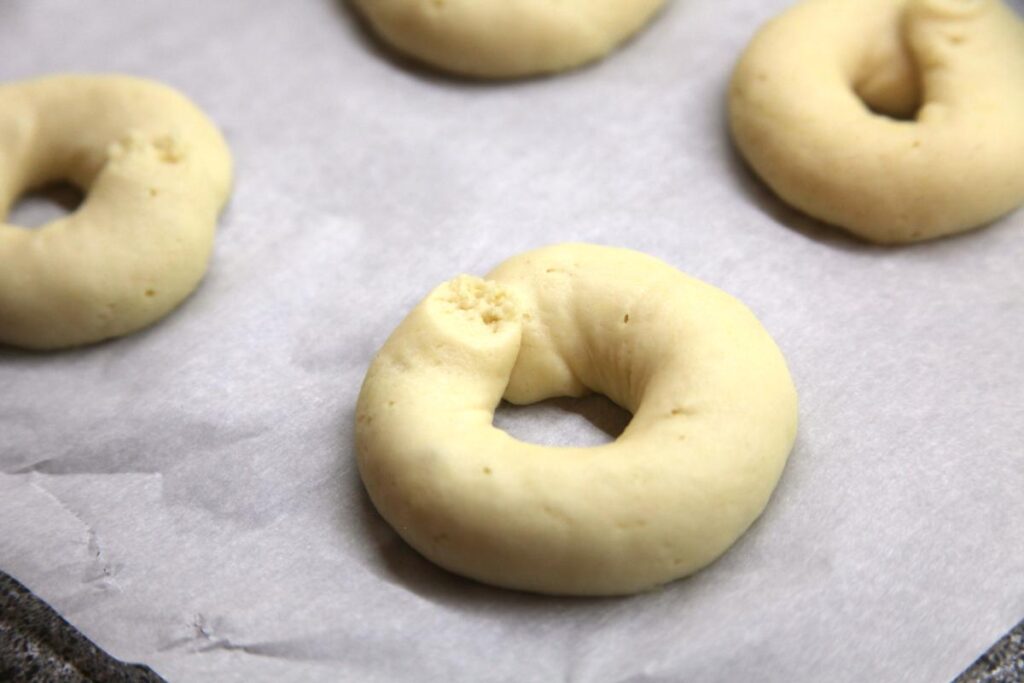
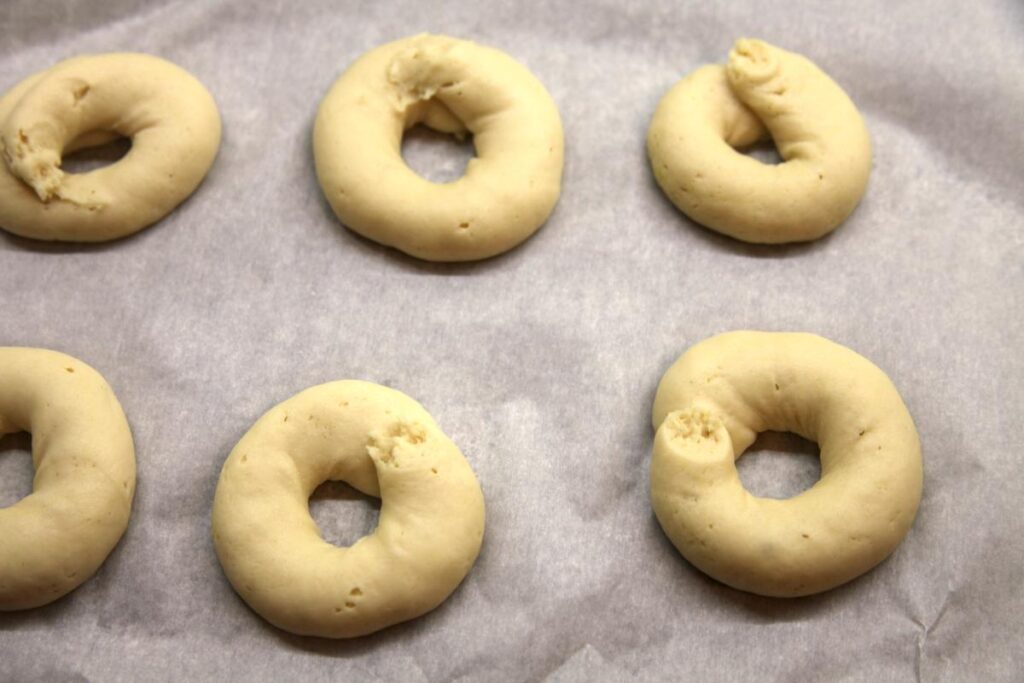
Cut the parchment paper into squares around each of the piped doughnuts. Once the oil is preheated, begin frying the doughnuts. Working carefully, take each doughnut/square of parchment paper and place it doughnut-side-down into the oil, holding onto the edge of the parchment paper so it doesn't become submerged. Gently shake the parchment paper so the doughnut dislodges and then discard the square.
Fry each doughnut for four minutes, flipping every minute to ensure the doughnut rises and browns evenly. I've had issues with one side rising too much and cracking if I don't flip them every minute.
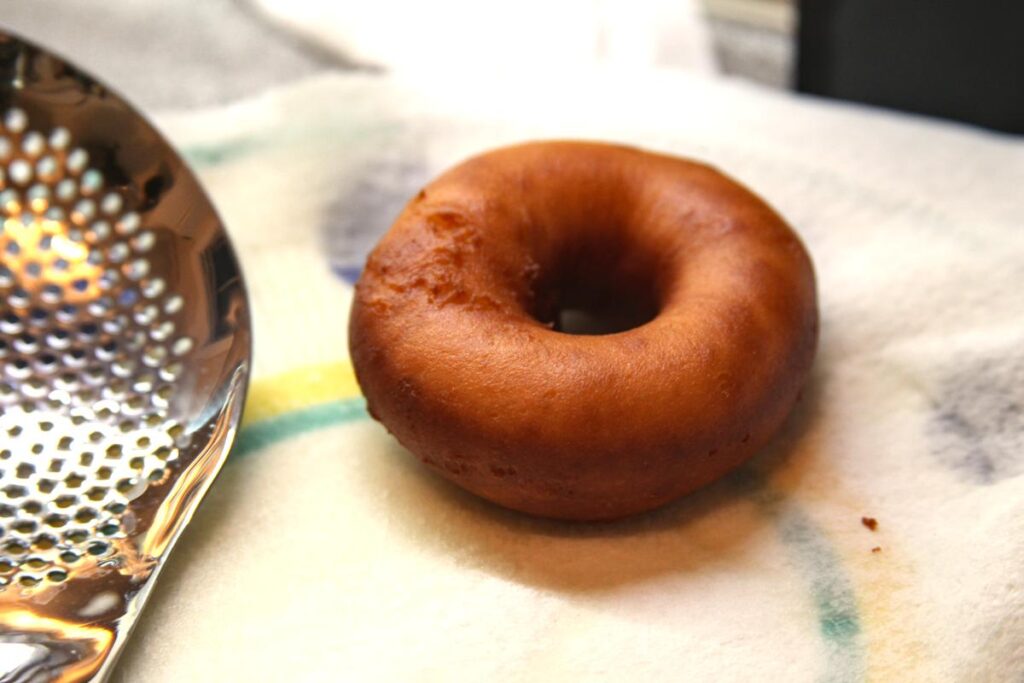
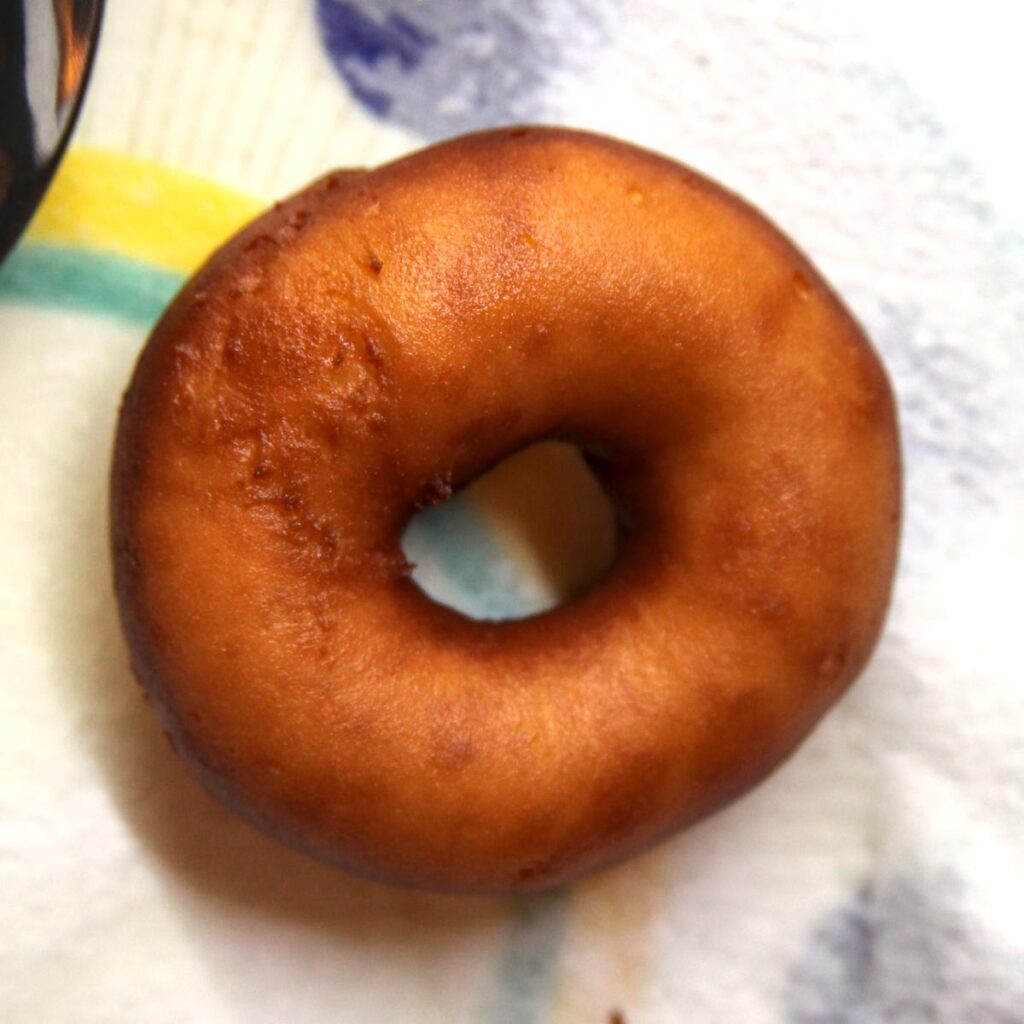
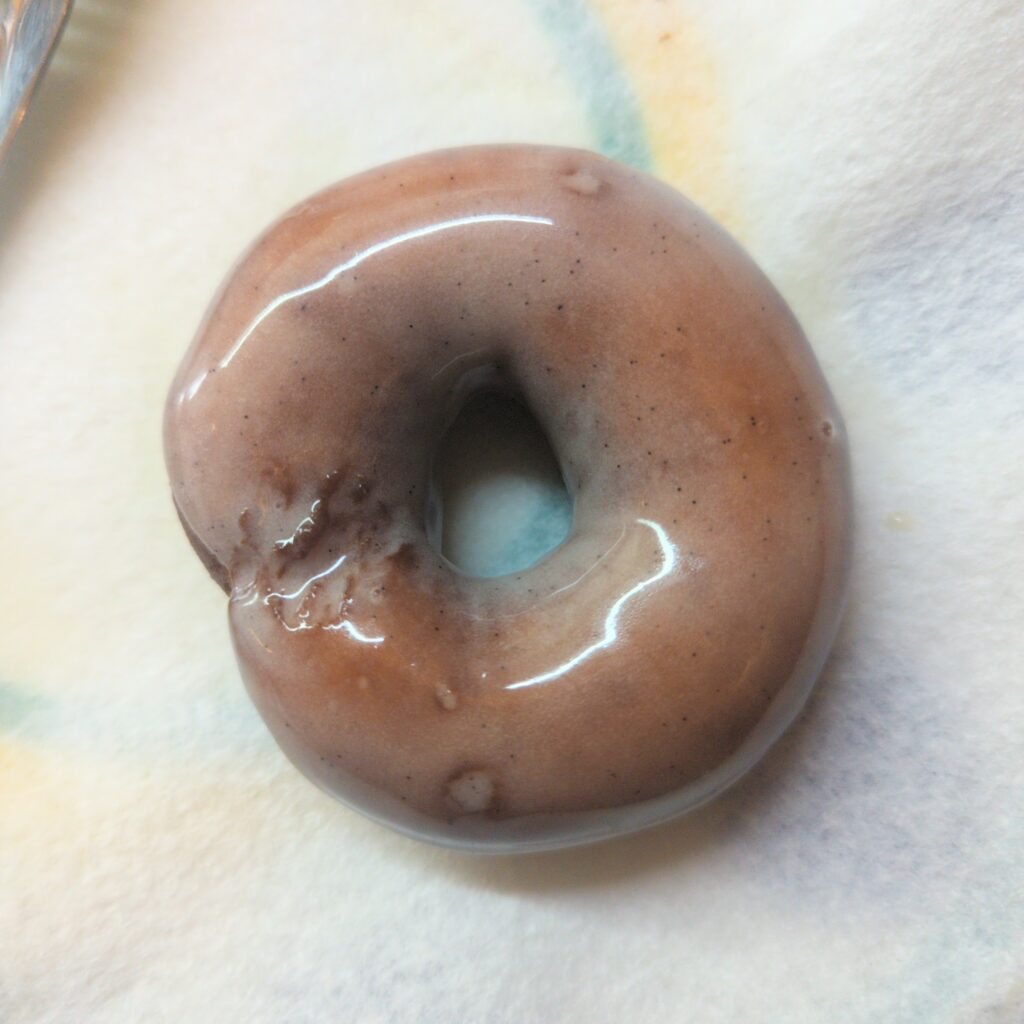
Remove from the oil onto a paper towel lined plate and allow to cool until they can be handled. Dip the cooled doughnut into the glaze, then remove and allow to cool the rest of the way before eating. Enjoy!
Store overnight in an airtight container. The doughnuts can be reheated by microwaving for 15 to 30 seconds. The microwave can also improve the texture of gluten free breads that are more than a day old.
The cornstarch can be swapped out for tapioca starch if desired. The buckwheat flour can be substituted for sorghum flour or, in a pinch, brown rice flour.
While I have not made these doughnuts with a non-dairy milk, they should work well in the recipe. Let me know in the comments if you try it!

These doughnuts are perfection. They are tender and airy, and have the sweet, yeast-y flavor of a traditional doughnut. My partner, who can and does eat gluten, called them transcendent.
Heat the milk to roughly 105oF. Whisk in the yeast and a pinch of sugar. Set aside until bubbly (5 to 10 minutes).
Mix all remaining dry ingredients together in the bowl of a stand mixer equipped with the paddle attachment. Once the yeast is activated, add the yeast mixture, egg, and melted butter and beat on medium speed for 2 minutes. Pause to scrape down the sides in the middle of mixing.
Cover the bowl with plastic wrap and set aside in a warm, draft-free place to rise for 1-2 hours or until the dough has doubled in size.
While the dough is rising, make the glaze. Combine the milk and butter in a microwave-safe container and heat until the butter has melted. Combine the milk mixture with the powdered sugar and vanilla paste in a small bowl. Whisk until smooth and set aside. If the glaze is too thick to work with, thin with a little bit more milk.
Once the dough has risen, scoop the dough into a piping bag fitted with a large, round tip. Pipe into doughnut shapes on a sheet of parchment paper. Depending on the size, this recipe can make anywhere from 6 large doughnuts to 10 small ones. Wet your finger and smooth the doughnut shapes out if necessary.
Cut squares of parchment paper around the doughnut shapes for ease of transfer to the oil.
Fry at 325oF for four minutes per doughnut, turning once every minute to ensure even rise and cooking.
Remove from oil and let cool slightly on a paper towel lined plate. Once cool enough to touch, dip each doughnut in the prepared glaze.